
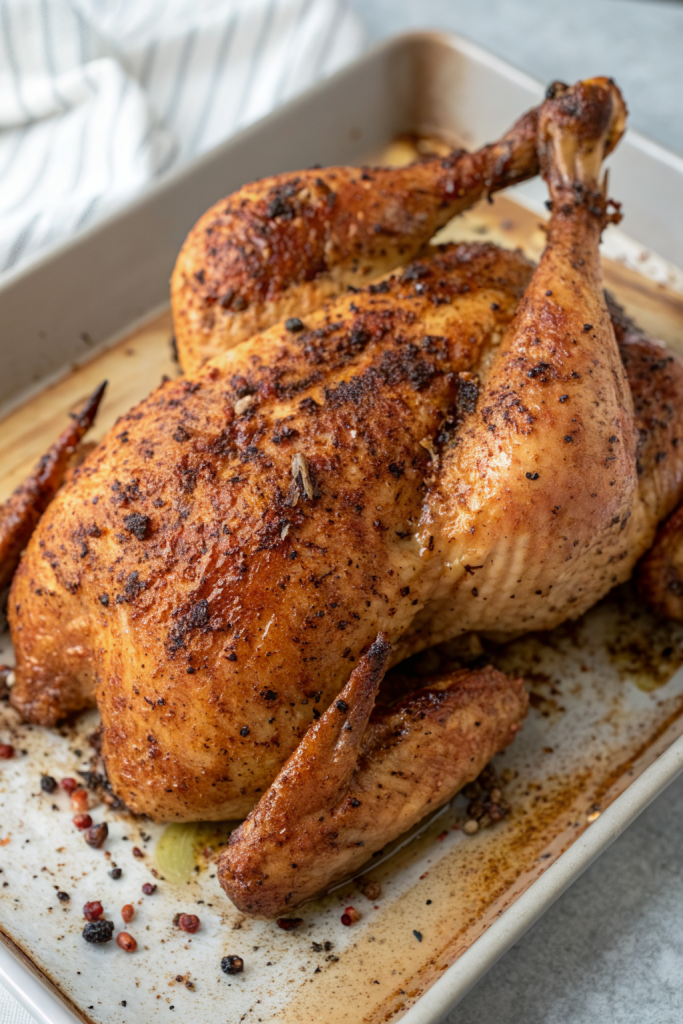
Spatchcock Chicken Recipe gives you juicy meat, shatteringly crisp skin, and dinner on the table in about an hour, start to finish. It works perfectly for busy weeknights, casual dinner parties, or any time you want roast chicken that cooks faster than a whole bird. I have cooked this exact method so many times that my kids call it “flat chicken night” and cheer when they see it.
Why Spatchcock Chicken Recipe Is Worth It
A Spatchcock Chicken Recipe flattens the bird so it cooks evenly and quickly. The high surface area gives you more crispy skin, which everyone fights over at the table. You also avoid dry breast meat because the dark meat finishes closer to the same time.
You season the chicken more easily because every part sits in one layer. The method looks fancy, yet you only need kitchen shears and a baking sheet. Once you try it, whole roasted chickens in their original shape feel a little boring.
“This Spatchcock Chicken Recipe gave us the crispiest skin and juiciest meat I have ever made at home, and it disappeared in minutes. ★★★★★”
Ingredients You Need
Whole chicken
- 1 whole chicken, about 3.5 to 4.5 pounds
- Smaller chickens cook more evenly and stay juicier.
- Use air chilled chicken if possible because the skin dries out better and crisps nicely.
Fat and flavor
- 3 tablespoons olive oil or avocado oil
- You can use melted ghee or melted butter if you prefer a richer flavor.
- 1 tablespoon lemon juice or apple cider vinegar
- This brightens the flavor and helps tenderize the meat.
Salt and seasonings
- 2 to 2½ teaspoons kosher salt
- Use less if you only have table salt because it tastes saltier.
- 1 teaspoon black pepper, freshly ground
- 2 teaspoons garlic powder
- 2 teaspoons onion powder
- 2 teaspoons smoked paprika or sweet paprika
- Smoked paprika gives a subtle barbecue vibe without a grill.
- 1 teaspoon dried thyme or Italian seasoning
- Optional heat: ¼ teaspoon cayenne pepper or red pepper flakes
Aromatics for extra flavor
- 1 small onion, sliced into thick rings
- 1 lemon, sliced
- 4 garlic cloves, smashed
- A few sprigs of fresh rosemary, thyme, or parsley if you have them
Pantry shortcuts and swaps
- Use a favorite all purpose poultry seasoning instead of the individual dried herbs.
- Use pre minced garlic from a jar if you feel tired and short on time.
- Use bottled lemon juice if fresh lemons hide from you in the fridge.
Equipment list
- Sharp kitchen shears or heavy duty scissors
- Large cutting board
- Paper towels
- Small bowl for mixing the spice rub
- Rimmed baking sheet or large oven safe skillet
- Wire rack that fits inside the baking sheet, optional but helpful for extra crisp skin
- Instant read thermometer for perfect doneness
Quick Tips & substitutions
- Pat the chicken very dry with paper towels so the skin crisps instead of steams.
- Salt the chicken at least 30 minutes ahead in the fridge if you can, uncovered, for extra flavorful meat.
- Use kitchen shears instead of a knife to cut out the backbone because they feel safer and easier.
- Roast on a wire rack over a baking sheet so hot air hits the underside and keeps it crisp.
- Swap olive oil with avocado oil if you roast at higher heat and worry about smoke.
- Use smoked paprika and a pinch of cayenne for a barbecue style flavor without a grill.
- Skip the lemon slices if you do not have them and add a splash of lemon juice after roasting.
- Use a dry rub from the store if you want a shortcut, just watch the salt level.
- Add root vegetables under the chicken to soak up the drippings and turn into a side dish.
- Use the backbone and any extra trimmings to make quick chicken stock later.
How to Make Spatchcock Chicken Recipe
Step 1: Prep the chicken
Take the chicken out of the fridge about 20 to 30 minutes before cooking so it comes closer to room temperature. Remove any giblets from the cavity and save them for stock or discard them. Pat the chicken very dry all over with paper towels, including inside the cavity.
Place the chicken breast side down on a large cutting board. The backbone should face up and run down the center. Use kitchen shears to cut along one side of the backbone from tail to neck, then repeat on the other side and remove the backbone.
Step 2: Flatten the bird
Flip the chicken so the breast side faces up. Spread the legs out slightly. Press firmly on the center of the breastbone with the heel of your hand until you hear a small crack and the chicken lies flatter.
Tuck the wing tips behind the breast so they do not burn. Pat the skin dry one more time if it looks damp. This step makes a big difference in how crisp the skin turns out.
Step 3: Mix the seasoning
In a small bowl, combine olive oil, lemon juice, kosher salt, black pepper, garlic powder, onion powder, paprika, dried thyme, and cayenne if you use it. Stir until the mixture forms a loose paste. Taste a tiny bit and adjust salt or spice to your liking.
You want a mixture that spreads easily but still clings to the chicken. Add a splash more oil if it looks too thick. Add a pinch more salt if you like a bolder flavor.
Step 4: Season the chicken
Place the flattened chicken on a clean board or tray, breast side up. Gently loosen the skin over the breasts and thighs with your fingers, careful not to tear it. Rub some of the seasoning paste directly on the meat under the skin.
Spread the remaining seasoning all over the top and bottom of the chicken. Make sure every part gets a light, even coat, especially the thighs and drumsticks. Wash your hands well after handling the raw chicken.
Step 5: Set up the pan
Heat your oven to 425°F. Line a rimmed baking sheet with foil or parchment for easier cleanup. Place a wire rack on top if you have one.
Scatter onion slices, lemon slices, garlic cloves, and fresh herb sprigs on the pan under where the chicken will sit. This keeps the chicken slightly elevated and flavors the drippings. Place the seasoned chicken on the rack or directly on the aromatics, breast side up.
Step 6: Roast the chicken
Slide the pan into the hot oven, middle rack. Roast the chicken for about 35 to 45 minutes, depending on size. Rotate the pan halfway through so it browns evenly.
Start checking the internal temperature at 35 minutes. Insert an instant read thermometer into the thickest part of the thigh, not touching bone. Aim for 165°F in the thigh and 160°F in the breast since the temperature rises a bit while it rests.
Step 7: Crisp and color check
If the skin looks pale when the chicken reaches the right internal temperature, switch the oven to broil on high. Broil for 2 to 3 minutes, watching closely so the skin turns deep golden and crisp but does not burn. If it already looks nicely browned, skip the broiler.
If parts of the chicken brown too quickly, tent those areas loosely with a small piece of foil while the rest finishes. Every oven behaves a little differently, so trust your eyes and the thermometer more than the clock. You control the roast, not the other way around.
Step 8: Rest and carve
Remove the chicken from the oven and let it rest on the pan for 10 to 15 minutes. This short rest keeps the juices inside the meat instead of on your cutting board. Use that time to finish sides or just stand there and enjoy the smell.
Transfer the chicken to a cutting board. Cut off the legs by slicing between the thigh and breast, then separate drumsticks and thighs. Slice the breasts across the grain into thick slices and serve with the crispy skin on top.
Recipe Variations
- Gluten free: The base recipe already fits gluten free diets, just confirm your spice blends and broth sides do not contain hidden gluten.
- Dairy free: Use olive oil or avocado oil instead of butter or ghee.
- Low carb: Skip starchy sides and serve with roasted low carb vegetables like broccoli, cauliflower, or green beans.
- Herb heavy: Add a big handful of chopped fresh parsley, thyme, and rosemary to the seasoning paste.
- Citrus garlic: Use extra lemon juice and zest plus plenty of fresh garlic for a bright, punchy flavor.
- Spicy version: Increase cayenne and add chili powder or chipotle powder for a smoky kick.
- BBQ style: Rub the chicken with your favorite dry barbecue rub and brush with a little barbecue sauce in the last 5 minutes.
- Sheet pan dinner: Scatter chopped potatoes, carrots, and Brussels sprouts under the chicken so they roast in the drippings.
Ways to Serve Spatchcock Chicken Recipe
- Serve with roasted potatoes and a simple green salad.
- Pair with steamed rice and sautéed green beans.
- Shred leftovers and tuck them into tacos with salsa and avocado.
- Slice and serve over pasta with olive oil, garlic, and parmesan.
- Add chilled sliced chicken to meal prep bowls with quinoa and roasted vegetables.
- Serve with corn on the cob and coleslaw for a picnic style meal.
Storage Success
Let the chicken cool to room temperature for about 20 to 30 minutes, then transfer leftovers to airtight containers. Store in the fridge for up to 4 days, or freeze portions for up to 3 months. Reheat gently in a 325°F oven until warm so the meat stays juicy and the skin regains some crispness.
Use leftover meat in salads, sandwiches, soups, or quick quesadillas so nothing goes to waste. If you saved the backbone and bones, simmer them with onion, carrot, and celery to make a rich homemade stock that tastes far better than boxed versions.
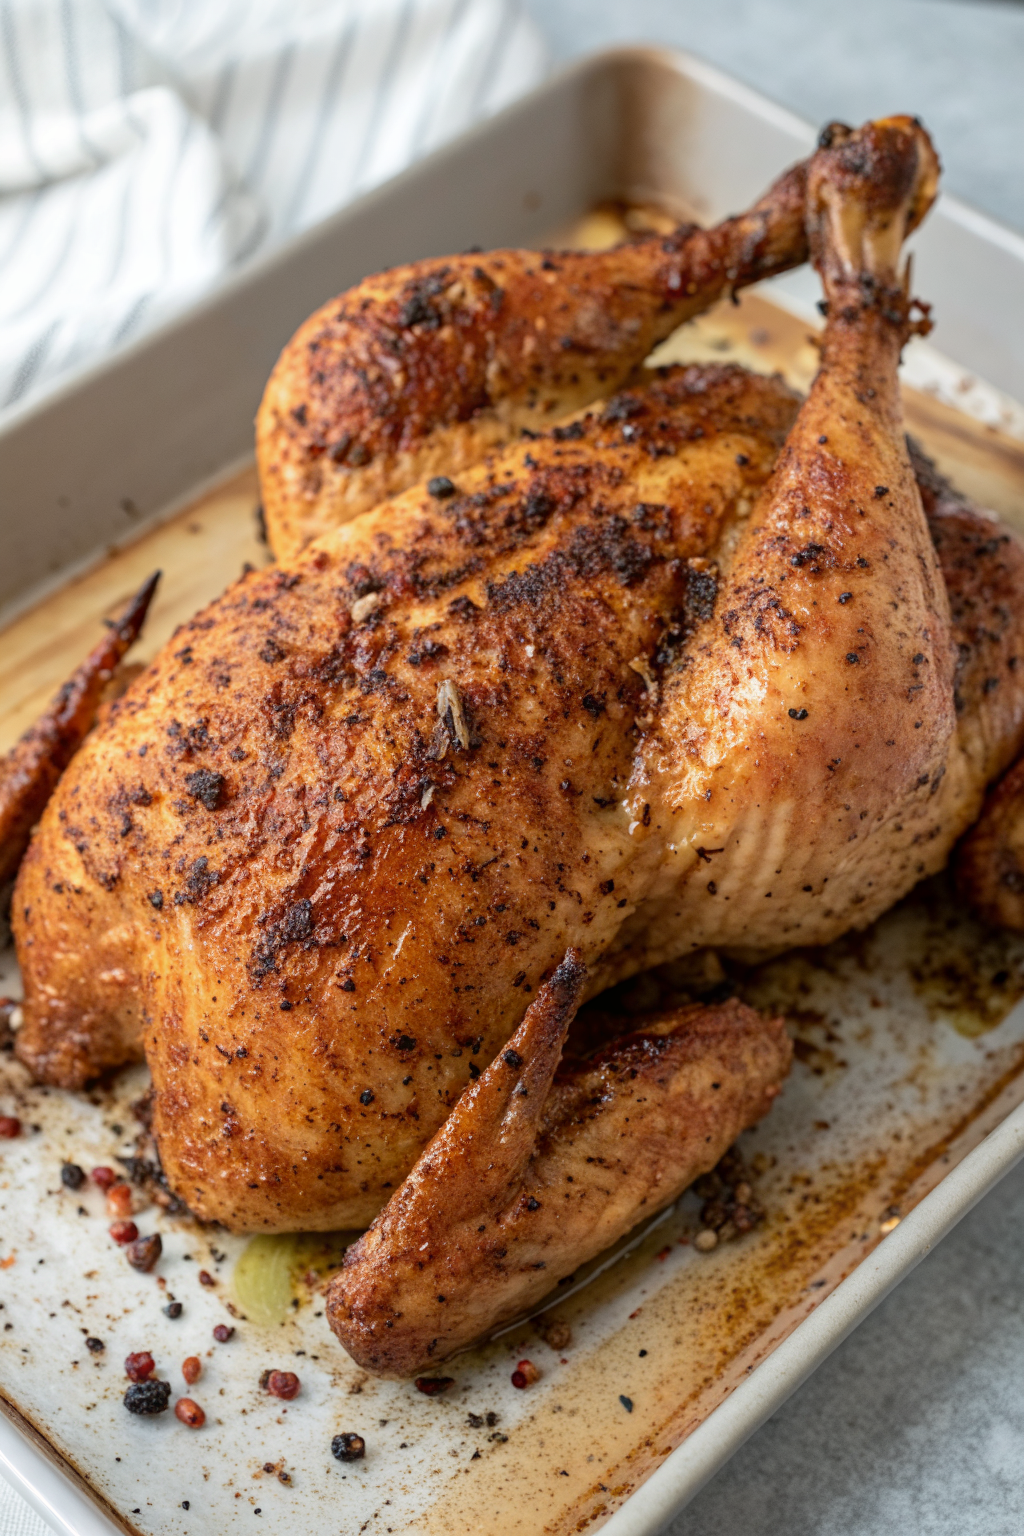
Spatchcock Chicken Recipe
Ingredients
Instructions
- Remove the chicken from the refrigerator 20 to 30 minutes before cooking so it takes off the chill. Remove any giblets from the cavity and pat the chicken very dry all over with paper towels, including inside the cavity.
- Place the chicken breast side down on a large cutting board with the backbone facing up. Using sharp kitchen shears, cut along one side of the backbone from tail to neck, then repeat on the other side to remove the backbone. Save it for stock if you like.
- Flip the chicken breast side up and spread the legs out slightly. Press firmly on the center of the breastbone with the heel of your hand until you hear a small crack and the chicken lies flat. Tuck the wing tips behind the breast so they do not burn. Pat the skin dry again if needed.
- In a small bowl, stir together the olive oil, lemon juice, kosher salt, black pepper, garlic powder, onion powder, paprika, dried thyme, and cayenne or red pepper flakes if using, until a loose paste forms.
- Place the flattened chicken breast side up on a board or tray. Gently loosen the skin over the breasts and thighs with your fingers, being careful not to tear it. Rub some of the seasoning paste directly onto the meat under the skin, then spread the remaining paste all over the top and bottom of the chicken in an even layer.
- Preheat the oven to 425°F (220°C). Line a rimmed baking sheet with foil or parchment for easier cleanup and place a wire rack on top if you have one.
- Scatter the onion slices, lemon slices, smashed garlic cloves, and fresh herb sprigs on the baking sheet under where the chicken will sit. Place the seasoned chicken on the rack or directly on top of the aromatics, breast side up.
- Roast on the middle rack for 35 to 45 minutes, rotating the pan halfway through, until the thickest part of the thigh reaches about 165°F and the breast reads about 160°F on an instant-read thermometer.
- If the skin is not deeply golden and crisp when the chicken reaches temperature, switch the oven to broil on high and broil for 2 to 3 minutes, watching closely, until the skin is crisp and browned. If any spots brown too quickly, tent them lightly with foil.
- Transfer the pan from the oven and let the chicken rest for 10 to 15 minutes so the juices redistribute.
- Move the chicken to a cutting board. Cut off the legs by slicing between the thigh and breast, then separate drumsticks and thighs. Slice the breasts across the grain into thick slices. Serve the chicken with the crispy skin and roasted aromatics, spooning some of the pan juices over the top if desired.
Notes
Approximate per serving (about 1/4 of chicken with skin): 430 calories; fat 29 g; saturated fat 7 g; carbohydrates 3 g; fiber 0 g; sugars 1 g; protein 38 g; sodium 780 mg. Values will vary based on chicken size, exact amount of oil, and salt used.
Leave a Reply