
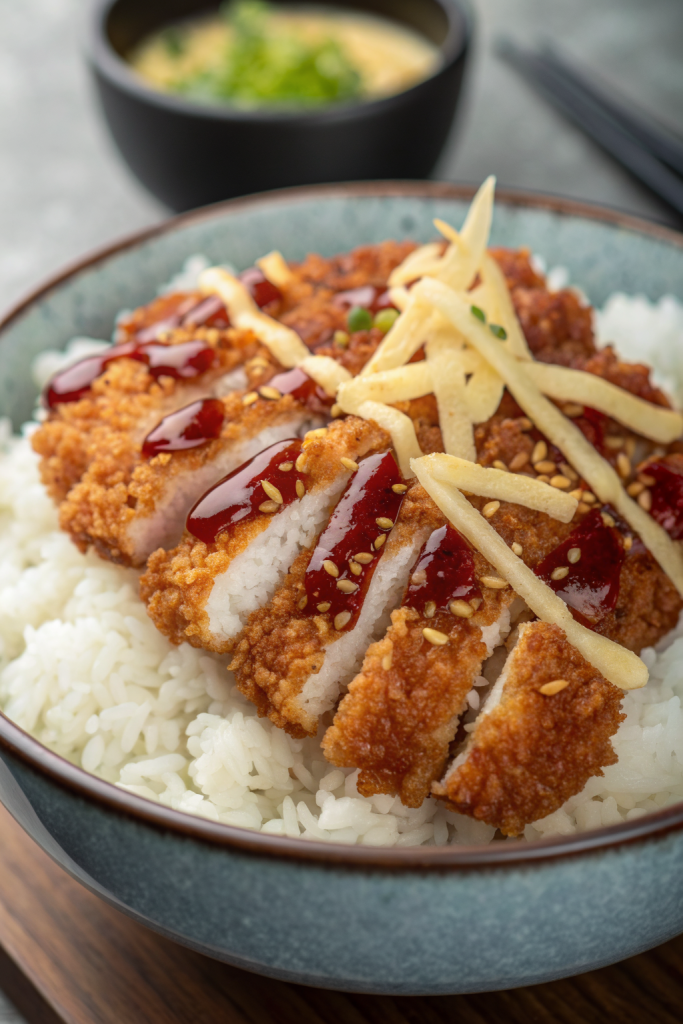
Crispy Japanese Katsu Bowls Recipe tastes crunchy, saucy, and cozy, with juicy cutlets over fluffy rice and fresh toppings, and it works perfectly for busy weeknights or casual dinner guests in about 40–45 minutes. This bowl hits that sweet spot between comfort food and takeout copycat, but you control the ingredients and seasoning. I first tested this version on a random Tuesday when I craved something fun but still wanted to cook in sweatpants.
Why Make This Crispy Japanese Katsu Bowls Recipe at Home
You get shatteringly crisp chicken or pork katsu, hot rice, and a glossy katsu sauce that tastes better than most takeout. You also customize everything: spice level, how saucy you like it, and how many crunchy toppings you pile on.
You also save money and stretch ingredients into multiple meals. Leftover katsu turns into sandwiches, salads, or quick bento-style lunches the next day.
“This Crispy Japanese Katsu Bowls Recipe tastes like my favorite restaurant katsu, but even crunchier and fresher at home, ★★★★★”
Ingredients You Need
Protein options
- Boneless skinless chicken thighs
- Juicy and forgiving, great for beginners.
- Use thighs about 4 to 5 ounces each.
- Boneless skinless chicken breasts
- Slice them in half horizontally so they cook evenly.
- Pork loin cutlets
- Pound them thin for classic tonkatsu style.
You can also use extra-firm tofu or store-bought plant-based cutlets. Press tofu well and pat it dry so the panko sticks.
Breading station
- All-purpose flour
- Any basic brand works.
- You can use a 1:1 gluten free flour blend if needed.
- Eggs
- Beat with a splash of milk or water so they coat smoothly.
- Panko breadcrumbs
- Japanese-style panko gives the best crunch.
- I like Kikkoman or any brand labeled “Japanese style panko.”
- Fine sea salt and black pepper
- Season every layer for better flavor.
- Optional: garlic powder, onion powder, smoked paprika
- Mix a pinch into the flour for extra flavor.
Katsu sauce ingredients
You can buy bottled katsu sauce (Bulldog brand tastes great) and call it a day. If you want a quick homemade version, use:
- Ketchup
- Worcestershire sauce
- Soy sauce
- Mirin or a tiny bit of sugar
- Rice vinegar
- Optional: a small spoon of Dijon or Japanese mustard, and a pinch of garlic powder
Stir and taste. Adjust sweetness or tang to your liking.
Rice and bowl base
- Short-grain Japanese rice
- Calrose or sushi rice gives the best texture.
- Rinse until the water runs mostly clear.
- Water or low-sodium chicken broth
- Broth adds extra flavor if you have it.
- Shredded green cabbage
- Classic with katsu and adds crunch.
- Thinly sliced green onions
- Cucumber slices or matchsticks
- Carrot matchsticks or shredded carrot
You can also use leftover rice, microwave rice pouches, or frozen rice as a shortcut. Just heat it until steaming hot.
Garnishes
- Toasted sesame seeds
- Japanese mayo (Kewpie)
- Sriracha or chili crisp
- Pickled ginger or takuan (yellow pickled daikon), if you have it
- Lime or lemon wedges
Oil and seasoning
- Neutral oil with high smoke point
- Use canola, vegetable, peanut, or avocado oil.
- Extra salt to season cutlets right after frying
Equipment list
- Cutting board and sharp chef’s knife
- Meat mallet or rolling pin (to pound cutlets)
- Three shallow bowls for flour, egg, and panko
- Large skillet or Dutch oven for shallow frying
- Tongs or chopsticks
- Wire rack set over a sheet pan or a paper towel lined plate
- Rice cooker or medium saucepan with lid
- Instant-read thermometer (very helpful for perfect doneness)
Tips & Mistakes
- Pat the protein very dry before seasoning so the coating sticks well.
- Pound cutlets to an even thickness so they cook evenly and stay juicy.
- Season the meat, the flour, and the panko lightly so the flavor runs through every bite.
- Press the panko firmly onto the cutlets so you get a thick, even crust.
- Chill breaded cutlets in the fridge for 10 to 15 minutes so the coating sets and holds.
- Heat the oil to 340–350°F and keep it there so the crust crisps without burning.
- Avoid crowding the pan so the oil temperature stays stable and the katsu stays crisp.
- Flip cutlets only once so the crust stays intact and crunchy.
- Drain katsu on a wire rack instead of stacking on paper towels so the bottom stays crisp.
- Slice katsu after a short rest so the juices settle and the crust does not slide off.
- Add sauce right before serving so the crust stays crunchy.
- Use hot rice and cool crunchy veggies so the bowl has great contrast in texture and temperature.
How to Make Crispy Japanese Katsu Bowls Recipe
Step 1: Cook the rice
Rinse the short-grain rice under cold water until the water runs mostly clear. Add the rice and water (or broth) to a rice cooker or saucepan, then cook until tender and fluffy. Fluff with a fork and keep it warm with the lid on.
Step 2: Prep and pound the cutlets
Trim any excess fat from the chicken or pork. Place each piece between two sheets of plastic wrap or parchment. Pound gently with a meat mallet or rolling pin until about 1/3 inch thick.
Season both sides with salt and pepper. If you like, add a light sprinkle of garlic powder or smoked paprika.
Step 3: Set up the breading station
Place flour in one shallow bowl. Beat eggs with a splash of water or milk in a second bowl. Pour panko into a third bowl and season it with a pinch of salt and pepper.
Step 4: Bread the cutlets
Coat each cutlet in flour and shake off the excess. Dip it into the egg mixture and let the extra drip off. Press it firmly into the panko on both sides so it gets fully coated.
Place breaded cutlets on a plate or tray. Chill them in the fridge for about 10 to 15 minutes while you heat the oil.
Step 5: Heat the oil
Pour about 1/2 inch of neutral oil into a large skillet or Dutch oven. Heat over medium to medium-high heat until it reaches 340–350°F. If you do not have a thermometer, drop in a few panko crumbs; they should sizzle and turn golden in about 30 seconds.
Step 6: Fry the katsu
Lay cutlets gently into the hot oil, a few at a time. Cook until the bottom turns deep golden brown, then flip once and cook the second side. This usually takes about 3 to 4 minutes per side, depending on thickness.
Check the internal temperature with an instant-read thermometer. Aim for 165°F for chicken and about 145–150°F for pork, then rest a few minutes.
Step 7: Drain and season
Transfer cooked katsu to a wire rack set over a sheet pan. Sprinkle a tiny pinch of salt on each piece while still hot. This step boosts flavor and keeps the crust lively.
Step 8: Mix the katsu sauce
In a small bowl, stir together ketchup, Worcestershire, soy sauce, mirin or sugar, and a splash of rice vinegar. Taste and adjust until it hits your sweet-tangy-salty preference. Add mustard or garlic powder if you like a little extra kick.
If you use bottled katsu sauce, pour it into a small bowl and warm it slightly or keep it at room temperature.
Step 9: Prep veggies and garnishes
Shred the cabbage very thin so it feels light and crisp. Slice cucumber and green onions, and prep any other veggies you like. Set out sesame seeds, Japanese mayo, chili sauce, and pickles.
Step 10: Slice the katsu
Let the cutlets rest for 3 to 5 minutes. Slice them crosswise into strips about 1/2 inch wide. The crust should stay intact and crunchy.
Step 11: Build the bowls
Scoop hot rice into each bowl. Add a handful of shredded cabbage and other veggies around the sides. Arrange sliced katsu on top.
Drizzle katsu sauce over the cutlets. Add a zigzag of Japanese mayo if you like, then finish with sesame seeds and green onions.
Variations I've Tried
I swap chicken for pork loin when I crave a slightly richer flavor and a more traditional tonkatsu feel. I also make tofu katsu bowls with pressed, breaded tofu for vegetarian friends, and they always ask for the recipe. Sometimes I season the panko with curry powder and serve the katsu over Japanese curry instead of plain rice.
I also like a spicy version with chili crisp, extra sriracha, and a squeeze of lime over the top. On hot days, I use more raw veggies and less rice, so the bowl feels lighter but still satisfying.
How to Serve Crispy Japanese Katsu Bowls Recipe
Serve these crispy Japanese katsu bowls hot, with the rice steaming and the katsu freshly sliced. Add a big pile of shredded cabbage for crunch, then spoon extra katsu sauce on the side for dipping. Pair the bowl with miso soup, a simple cucumber salad, or edamame for a full meal.
Kids usually love a milder version, so keep the sauce on the sweeter side and skip the spicy toppings. If you pack this for lunch, keep the sauce and katsu separate from the rice until you heat and assemble.
How to store
- Store leftover katsu in an airtight container in the fridge for up to 3 days; keep the rice and veggies in separate containers.
- Freeze cooked, sliced katsu on a parchment-lined tray, then move to a freezer bag for up to 2 months.
- Reheat katsu in a 375°F oven or air fryer until hot and crisp, about 8 to 10 minutes from the fridge or a bit longer from frozen.
- Warm rice separately in the microwave with a sprinkle of water and cover it so it steams back to life.
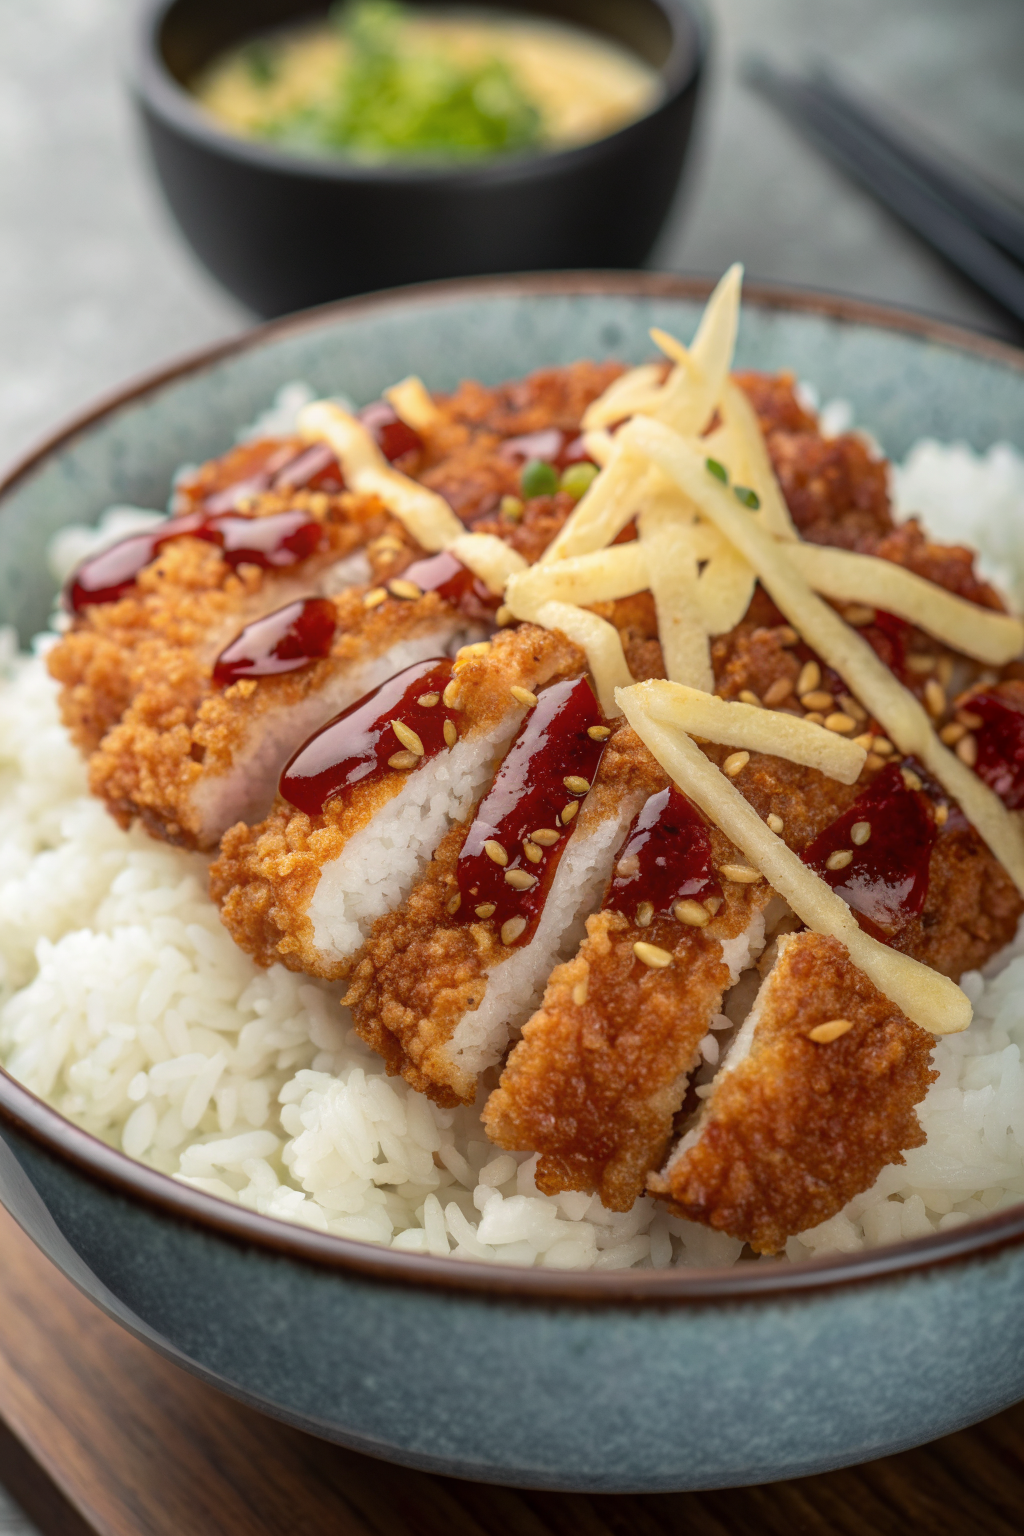
Crispy Japanese Katsu Bowls Recipe
Ingredients
Instructions
- Rinse the short-grain rice under cold water until the water runs mostly clear, then drain well.
- Combine the rice and water or broth in a rice cooker or saucepan, then cook until tender and fluffy. Fluff with a fork and keep warm with the lid on.
- Trim excess fat from the chicken thighs or pork cutlets. Place each piece between two sheets of plastic wrap or parchment and pound gently until about 1/3 inch thick.
- Season both sides of the meat with salt and pepper, adding a light sprinkle of garlic powder, onion powder, or smoked paprika if using.
- Set up a breading station with three shallow bowls: flour in one, beaten eggs with a splash of water or milk in the second, and panko seasoned with a pinch of salt and pepper in the third.
- Coat each cutlet in flour, shaking off the excess. Dip into the egg, letting any extra drip off, then press firmly into the panko on both sides until fully coated.
- Place breaded cutlets on a plate or tray and chill in the refrigerator for 10 to 15 minutes so the coating sets.
- Pour about 1/2 inch of neutral oil into a large skillet or Dutch oven and heat over medium to medium-high until it reaches 340–350°F, or until a few panko crumbs sizzle and turn golden in about 30 seconds.
- Lay cutlets gently into the hot oil, a few at a time without crowding. Fry until the bottom is deep golden brown, then flip once and cook the second side, about 3 to 4 minutes per side depending on thickness.
- Transfer cooked katsu to a wire rack set over a sheet pan. While still hot, sprinkle lightly with salt and let rest for a few minutes.
- In a small bowl, whisk together ketchup, Worcestershire sauce, soy sauce, mirin or sugar, and rice vinegar. Taste and adjust sweetness or tang, then add mustard and garlic powder if you like extra punch.
- Shred the cabbage very thinly. Slice the green onions, cucumber, and carrot, and set them aside with any garnishes you plan to use.
- After the katsu has rested 3 to 5 minutes, slice each cutlet crosswise into strips about 1/2 inch wide, keeping the crust intact.
- To build each bowl, add a scoop of hot rice, then arrange shredded cabbage and other veggies around the sides. Lay sliced katsu on top of the rice.
- Drizzle katsu sauce over the cutlets and add a zigzag of Japanese mayo if desired. Finish with toasted sesame seeds, green onions, and any spicy sauce or pickles you like, then serve immediately.
Notes
Approximate per serving (1 of 4, using chicken thighs, sauce, rice, and garnishes without extra mayo or chili crisp): 780 calories; fat 32 g; saturated fat 7 g; carbohydrates 83 g; fiber 4 g; sugars 13 g; protein 37 g; sodium 1450 mg. Values will vary based on protein choice, frying oil retained, brands, and toppings used.