
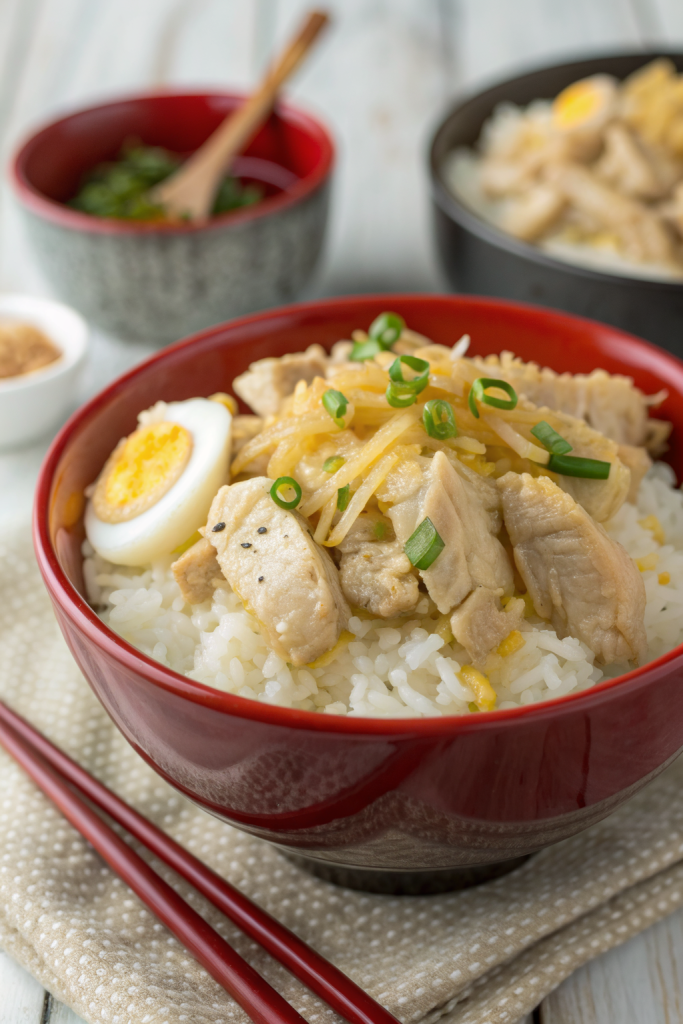
Oyakodon Japanese Chicken Egg Rice Bowl Recipe tastes like the coziest chicken soup and a silky omelet decided to hug a bowl of rice. It works perfectly for busy weeknights, students, beginners, or anyone who wants a comforting Japanese rice bowl on the table in about 25 minutes. I lived on this during a hectic year of food writing deadlines, and it still feels like a warm hug in a bowl every single time.
Why Oyakodon Japanese Chicken Egg Rice Bowl Recipe Is Worth It
Oyakodon Japanese Chicken Egg Rice Bowl Recipe gives you maximum comfort with minimum effort. You cook everything in one pan, pour it over hot rice, and dinner practically serves itself. The chicken tastes savory and tender, the onions turn sweet, and the eggs stay soft and custardy.
You also need only a few pantry staples to get that classic Japanese flavor. The recipe scales easily, so you can cook it for one or for a small crowd. Cleanup stays simple, which always feels like a win after a long day.
Cozy, savory, silky, and done in under 30 minutes, this Oyakodon Japanese Chicken Egg Rice Bowl Recipe tastes like true comfort food in a bowl ★★★★★
Ingredients You Need
For the Oyakodon Japanese Chicken Egg Rice Bowl Recipe:
- 2 cups cooked Japanese short grain rice, hot and fluffed
- Use sushi rice or any short grain white rice; in a pinch, use medium grain Calrose rice.
- 8 ounces boneless skinless chicken thighs, cut into small bite size pieces
- Thighs stay juicy; you can use chicken breast if you cook it gently.
- 1 small onion, thinly sliced
- Yellow or sweet onion works best; avoid red onion for this recipe.
- 3 large eggs, lightly beaten in a bowl
- Use the freshest eggs you can; they give better flavor and texture.
- 1 green onion, thinly sliced, for garnish
- Shichimi togarashi or chili flakes, optional, for a little heat
For the simmering sauce (warishita style):
- 1 cup dashi stock
- Use instant dashi granules with water as a shortcut; follow the package ratio.
- If you do not have dashi, mix low sodium chicken broth with a small splash of fish sauce as a backup.
- 3 tablespoons soy sauce
- Use regular Japanese soy sauce like Kikkoman or Yamasa; choose low sodium if you watch salt.
- 2 tablespoons mirin
- Mirin adds sweetness and aroma; if you only have aji mirin, reduce added sugar slightly.
- 1 tablespoon sake
- If you avoid alcohol, skip sake and add 1 extra tablespoon dashi plus a tiny pinch of sugar.
- 1 to 1½ tablespoons sugar, to taste
- Use white sugar for clean flavor; you can swap in light brown sugar for a deeper note.
Equipment list:
- Small to medium nonstick skillet or shallow pan with lid
- A 9 to 10 inch skillet works well for 2 servings.
- Cutting board and sharp knife
- Small mixing bowls for eggs and sauce
- Chopsticks or spatula for stirring
- Rice cooker or pot for cooking rice
Quick Tips & substitutions
- Slice the chicken thin so it cooks quickly and stays tender.
- Cut onion slices thin so they soften at the same rate as the chicken.
- Keep the heat at medium to medium low to avoid rubbery chicken and overcooked eggs.
- Beat the eggs lightly; leave some streaks so the texture stays soft and interesting.
- Pour the eggs over the simmering chicken in two stages for a mix of set and silky egg.
- Use leftover rotisserie chicken in a pinch; add it later since it already cooks through.
- Swap dashi with chicken broth plus a tiny splash of fish sauce if you cannot find dashi.
- Use tamari instead of soy sauce for a gluten conscious version.
- Cook the rice slightly firmer than usual so it holds up under the sauce.
- Warm the serving bowls so the Oyakodon Japanese Chicken Egg Rice Bowl Recipe stays hot longer.
How to Make Oyakodon Japanese Chicken Egg Rice Bowl Recipe
Step 1: Cook the rice
- Rinse the short grain rice under cold water until the water runs mostly clear.
- Drain well, then cook it in a rice cooker or pot with the usual water ratio for Japanese rice.
- Fluff the rice with a rice paddle and keep it covered and warm while you cook the topping.
Step 2: Prep the ingredients
- Trim any excess fat from the chicken thighs and cut them into small bite size strips or cubes.
- Peel the onion and slice it thinly from root to tip so the slices cook evenly.
- Crack the eggs into a small bowl and beat them gently with chopsticks or a fork until just combined.
- Slice the green onion thinly and set it aside for garnish.
Step 3: Mix the simmering sauce
- In a bowl or measuring cup, combine dashi stock, soy sauce, mirin, sake, and sugar.
- Stir until the sugar dissolves.
- Taste the sauce and adjust with a little more sugar or soy sauce to match your preference.
Step 4: Simmer the onion and chicken
-
Pour the sauce into your skillet and bring it to a gentle simmer over medium heat.
-
Add the sliced onions and spread them out so they sit mostly in a single layer.
-
Simmer the onions for about 3 to 4 minutes until they turn slightly translucent and soft.
-
Add the chicken pieces in an even layer on top of the onions.
-
Spoon some hot sauce over the chicken so every piece gets contact with the liquid.
-
Cover the pan and cook for about 5 to 6 minutes, until the chicken cooks through and turns opaque.
-
Stir once or twice so the chicken cooks evenly and absorbs the sauce.
Step 5: Add the eggs for that classic Oyakodon texture
-
Lower the heat to medium low so the mixture simmers gently.
-
Pour about two thirds of the beaten eggs evenly over the chicken and onions.
-
Cover and cook for about 30 to 45 seconds until the eggs start to set around the edges but still look soft in the center.
-
Pour the remaining eggs over the top, focusing on any spots that look dry.
-
Cover again and cook for another 30 to 45 seconds, depending on how soft you like your eggs.
-
Turn off the heat while the eggs still look slightly runny since they continue to cook in the residual heat.
Step 6: Assemble the Oyakodon Japanese Chicken Egg Rice Bowl Recipe
- Scoop hot rice into individual bowls and gently level the surface.
- Slide a spatula or large spoon under the chicken and egg mixture and lift it in big sections.
- Place the mixture over the rice, making sure you include some sauce in each bowl.
- Sprinkle green onions on top and add a pinch of shichimi togarashi or chili flakes if you like a little heat.
- Serve the Oyakodon Japanese Chicken Egg Rice Bowl Recipe immediately while everything stays hot and silky.
Recipe Variations
- Gluten conscious: Use tamari instead of soy sauce and check that your dashi granules list gluten free on the label.
- No alcohol: Skip mirin and sake, add a little extra dashi, and increase sugar slightly to keep balance.
- Low carb: Serve the chicken and egg mixture over steamed shredded cabbage or cauliflower rice instead of white rice.
- Extra protein: Add more chicken or crack in an extra egg per serving.
- Veggie boost: Add sliced mushrooms, spinach, or napa cabbage to the pan with the onions.
- Spicy version: Add a spoonful of chili crisp or extra shichimi togarashi on top.
- Dairy touch: Finish with a tiny knob of butter stirred into the sauce right before you add the eggs for extra richness.
Ways to Serve Oyakodon Japanese Chicken Egg Rice Bowl Recipe
- Serve with miso soup and a small side salad for a simple Japanese style meal.
- Add a side of quick pickled cucumbers or radishes for crunch and acidity.
- Pack the rice and topping separately for a work lunch and combine right before eating.
- Top with extra green onions and nori strips for more flavor and texture.
- Offer soy sauce and chili flakes at the table so everyone can adjust seasoning.
Storage Success
Store leftover Oyakodon Japanese Chicken Egg Rice Bowl Recipe in an airtight container in the fridge for up to 2 days. Keep the rice and the chicken egg mixture in separate containers so the rice does not turn soggy. Reheat the topping gently in a skillet over low heat or in the microwave at half power so the eggs stay tender. Add a splash of water or dashi while reheating if the sauce looks too thick, then spoon it over freshly warmed rice.
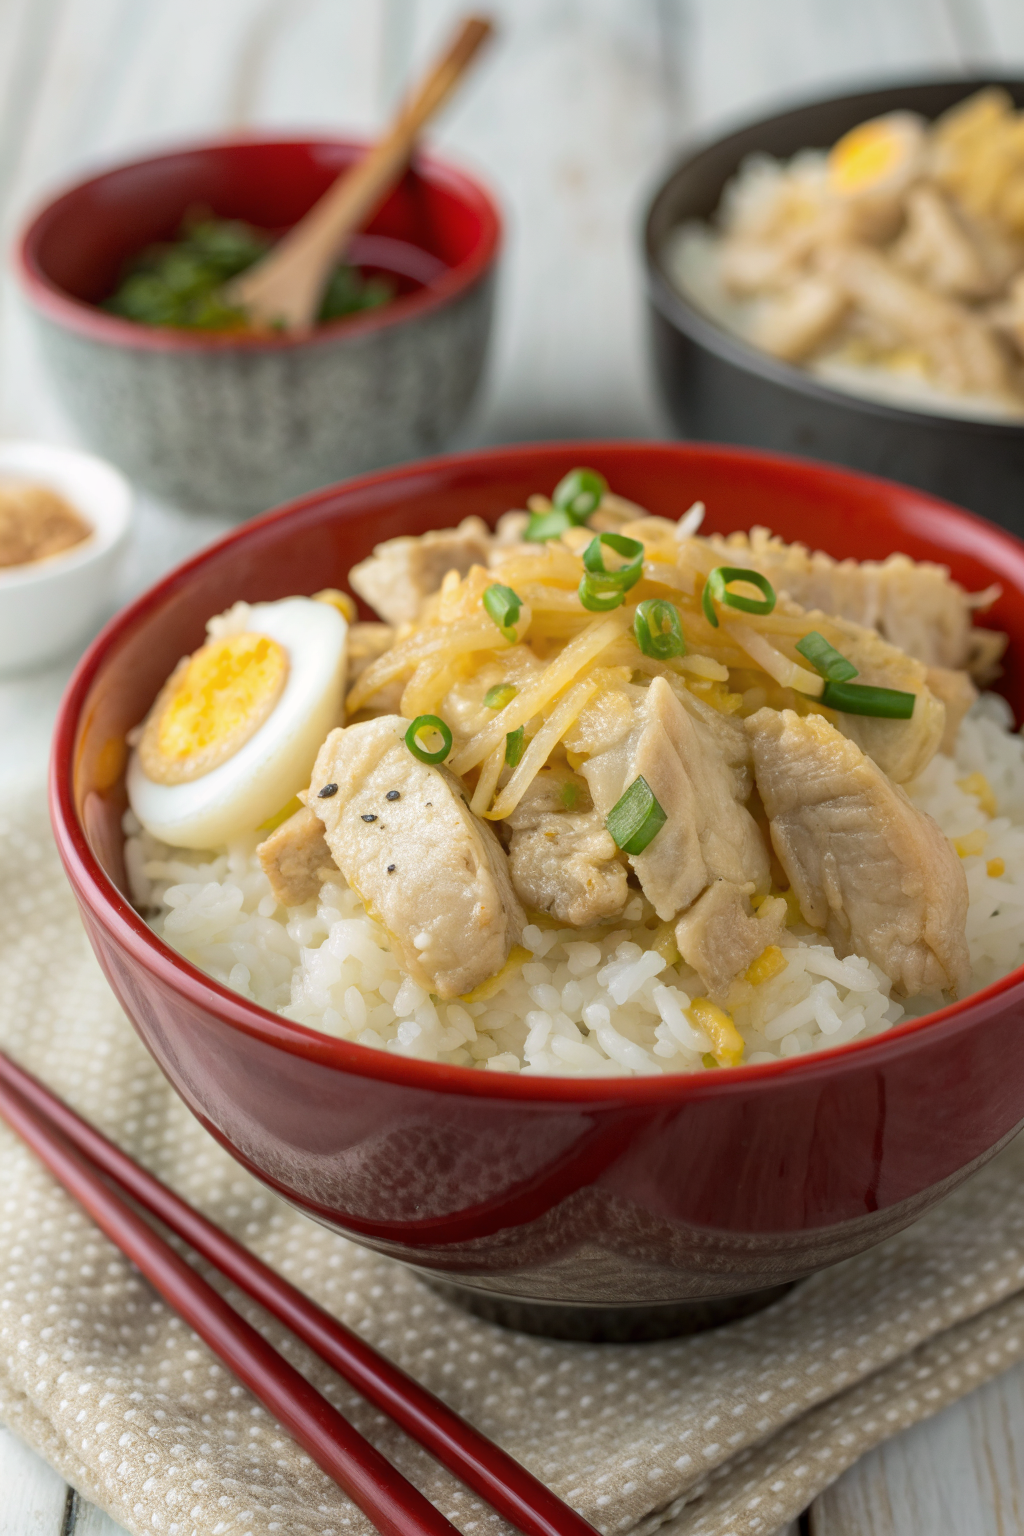
Oyakodon Japanese Chicken Egg Rice Bowl Recipe
Ingredients
Instructions
- Rinse the short grain rice under cold water until the water runs mostly clear, then drain well.
- Cook the rice in a rice cooker or pot using the usual water ratio for Japanese short grain rice.
- Fluff the rice and keep it covered and warm while you prepare the topping.
- Trim any excess fat from the chicken thighs and cut them into small bite-size strips or cubes.
- Peel and thinly slice the onion from root to tip.
- Crack the eggs into a small bowl and beat them gently until just combined, leaving some streaks.
- Thinly slice the green onion and set aside for garnish.
- In a bowl or measuring cup, combine the dashi stock, soy sauce, mirin, sake, and sugar. Stir until the sugar dissolves, then taste and adjust sweetness or saltiness to your liking.
- Pour the simmering sauce into a small to medium skillet and bring it to a gentle simmer over medium heat.
- Add the sliced onions, spreading them out in an even layer, and simmer for about 3–4 minutes until they become slightly translucent and soft.
- Add the chicken pieces in an even layer over the onions. Spoon some of the hot sauce over the chicken so each piece is coated in liquid.
- Cover the pan and cook for 5–6 minutes, stirring once or twice, until the chicken is cooked through and opaque and has absorbed some of the sauce.
- Reduce the heat to medium-low so the mixture is simmering gently.
- Pour about two-thirds of the beaten eggs evenly over the chicken and onions. Cover and cook for 30–45 seconds, just until the eggs start to set around the edges but are still soft in the center.
- Pour the remaining eggs over any drier spots, cover again, and cook for another 30–45 seconds, depending on how soft you like your eggs.
- Turn off the heat while the eggs are still slightly runny; they will continue to cook gently in the residual heat and stay silky.
- Scoop the hot cooked rice into individual serving bowls and gently level the surface.
- Use a spatula or large spoon to lift the chicken and egg mixture in large sections and place it over the rice, making sure to include some of the sauce in each bowl.
- Garnish with sliced green onions and a pinch of shichimi togarashi or chili flakes if you like a little heat.
- Serve immediately while the rice, chicken, and eggs are hot and silky.
Notes
Approximate per serving (2 servings total, including rice): 610 calories; fat 19 g; saturated fat 5 g; carbohydrates 77 g; fiber 2 g; sugars 16 g; protein 31 g; sodium 1950 mg. Values are estimates and will vary based on brands, exact ingredient amounts, and portion size.