
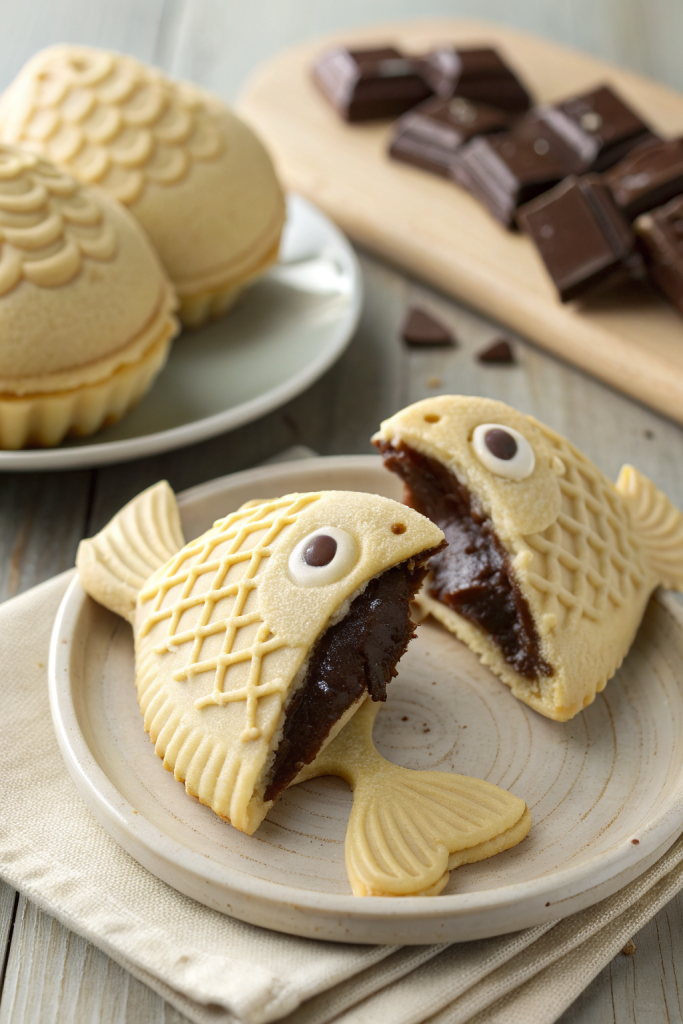
Taiyaki Japanese Fish Dessert Recipe tastes like a warm, fluffy waffle hugging sweet, creamy filling, and it works perfectly for anyone who loves cute desserts that take about 45–60 minutes from start to finish. This recipe suits home bakers who want a fun weekend project that feels like a trip to a Tokyo street stall without leaving the kitchen. I still remember burning my first batch and eating every single “ugly” fish anyway, so you are in good company here.
Why Make This Taiyaki Japanese Fish Dessert Recipe at Home
Homemade taiyaki tastes fresher and lighter than most store versions, and you control the sweetness and fillings. You can use classic sweet red bean paste, but you can also sneak in chocolate, custard, or even sweetened cream cheese when you cook at home.
You also get that cozy street food vibe without standing in line. Kids love the fish shape, adults love the crisp edges, and everyone loves the “which filling did I get?” surprise in the center.
This Taiyaki Japanese Fish Dessert Recipe gives crisp, golden fish with soft, fluffy centers and generous filling every time, just like a good street stall in Tokyo ★★★★★
Ingredients You Need
Batter ingredients
- 1 cup (130 g) all purpose flour
- 1 tablespoon cornstarch
- 1 teaspoon baking powder
- 2 tablespoons sugar
- 1 pinch fine salt
- 1 large egg, room temperature
- 3/4 cup (180 ml) milk, room temperature
- Use whole milk for richer flavor, or oat milk for a dairy free option.
- 1 tablespoon neutral oil (canola, grapeseed, or light vegetable oil)
- 1/2 teaspoon vanilla extract
This batter tastes similar to a light waffle or pancake batter. You can use a good quality pancake mix in a pinch and skip the flour, cornstarch, baking powder, sugar, and salt, then follow the liquid ratios.
Classic red bean filling
- 3/4 cup sweetened red bean paste (anko)
- Use tsubuan (chunky) for more texture or koshian (smooth) for a creamy center.
- Many Asian grocery stores carry canned anko; I like the brands that list only beans, sugar, and salt.
Optional alternative fillings
Pick one or mix and match:
- Chocolate hazelnut spread
- Thick vanilla custard or pastry cream
- Peanut butter with a drizzle of honey
- Sweetened cream cheese (2 oz cream cheese + 1 tablespoon sugar + 1/4 teaspoon vanilla)
- Matcha custard or matcha white chocolate spread
Keep fillings fairly thick so they stay in place and do not leak out of the taiyaki mold.
Equipment
- Taiyaki pan or taiyaki mold
- A stovetop cast aluminum taiyaki pan works best for home kitchens.
- Small mixing bowls
- Whisk
- Measuring cups and spoons
- Small ladle or squeeze bottle for batter
- Small spoon for filling
- Cooling rack
If you do not own a taiyaki pan, you can use a mini waffle maker as a backup, but the fish shape gives the full taiyaki experience.
Tips & Mistakes
- Preheat the taiyaki pan fully so the batter puffs and browns instead of sticking.
- Lightly oil the pan before each batch to keep the fish from tearing when you open the mold.
- Do not overmix the batter; whisk until no dry flour shows, then stop to keep the texture tender.
- Rest the batter 10 minutes so the flour hydrates and bubbles settle a bit.
- Use thick fillings; runny fillings leak out and burn on the pan.
- Add less filling than you think at first; you can always add more on the next batch.
- Keep the heat at medium to medium low; high heat burns the outside while the center stays raw.
- Flip the taiyaki pan gently and only once per side to avoid tearing the fish shape.
- Let cooked taiyaki cool on a rack so steam escapes and the edges stay crisp.
- If a fish sticks, give it another 30 seconds and try again; the crust releases more easily when fully cooked.
How to Make Taiyaki Japanese Fish Dessert Recipe
Mix the batter
- Add flour, cornstarch, baking powder, sugar, and salt to a bowl and whisk to combine.
- In another bowl, whisk the egg, milk, oil, and vanilla until smooth.
- Pour the wet ingredients into the dry ingredients while you whisk gently.
- Stir until the batter looks smooth with no dry pockets, then stop mixing and let it rest 10 minutes.
Prep the filling and pan
- Scoop your red bean paste or chosen filling into a small bowl and keep a spoon nearby.
- Preheat the taiyaki pan over medium heat for 2 to 3 minutes.
- Lightly brush or wipe the inside of each fish mold with a thin layer of oil.
- Lower the heat slightly to medium low once the pan feels hot.
Fill the molds
- Ladle a small amount of batter into one side of the taiyaki pan, just enough to cover the fish shape about halfway.
- Use the back of the ladle or a small spatula to nudge batter into the tail and nose so you fill all the details.
- Add 1 to 1.5 teaspoons of filling in the center of each fish, leaving space around the edges.
- Cover the filling with a little more batter until you almost reach the top of the mold, but do not overflow.
Cook and flip
- Close the taiyaki pan gently so the top mold meets the batter.
- Cook on the first side for about 2 to 3 minutes, then flip the entire pan.
- Cook the second side for another 2 to 3 minutes, adjusting the heat if the fish browns too quickly.
- Open the pan slightly and peek; the taiyaki should look golden brown with crisp edges.
Finish and repeat
- Use chopsticks or a small silicone spatula to lift each taiyaki out of the mold and place it on a cooling rack.
- Taste the first one and adjust cooking time or filling amount for the next batch.
- Lightly oil the pan again and repeat the process with the remaining batter and filling.
- Serve warm or at room temperature once you finish the batch.
Variations I've Tried
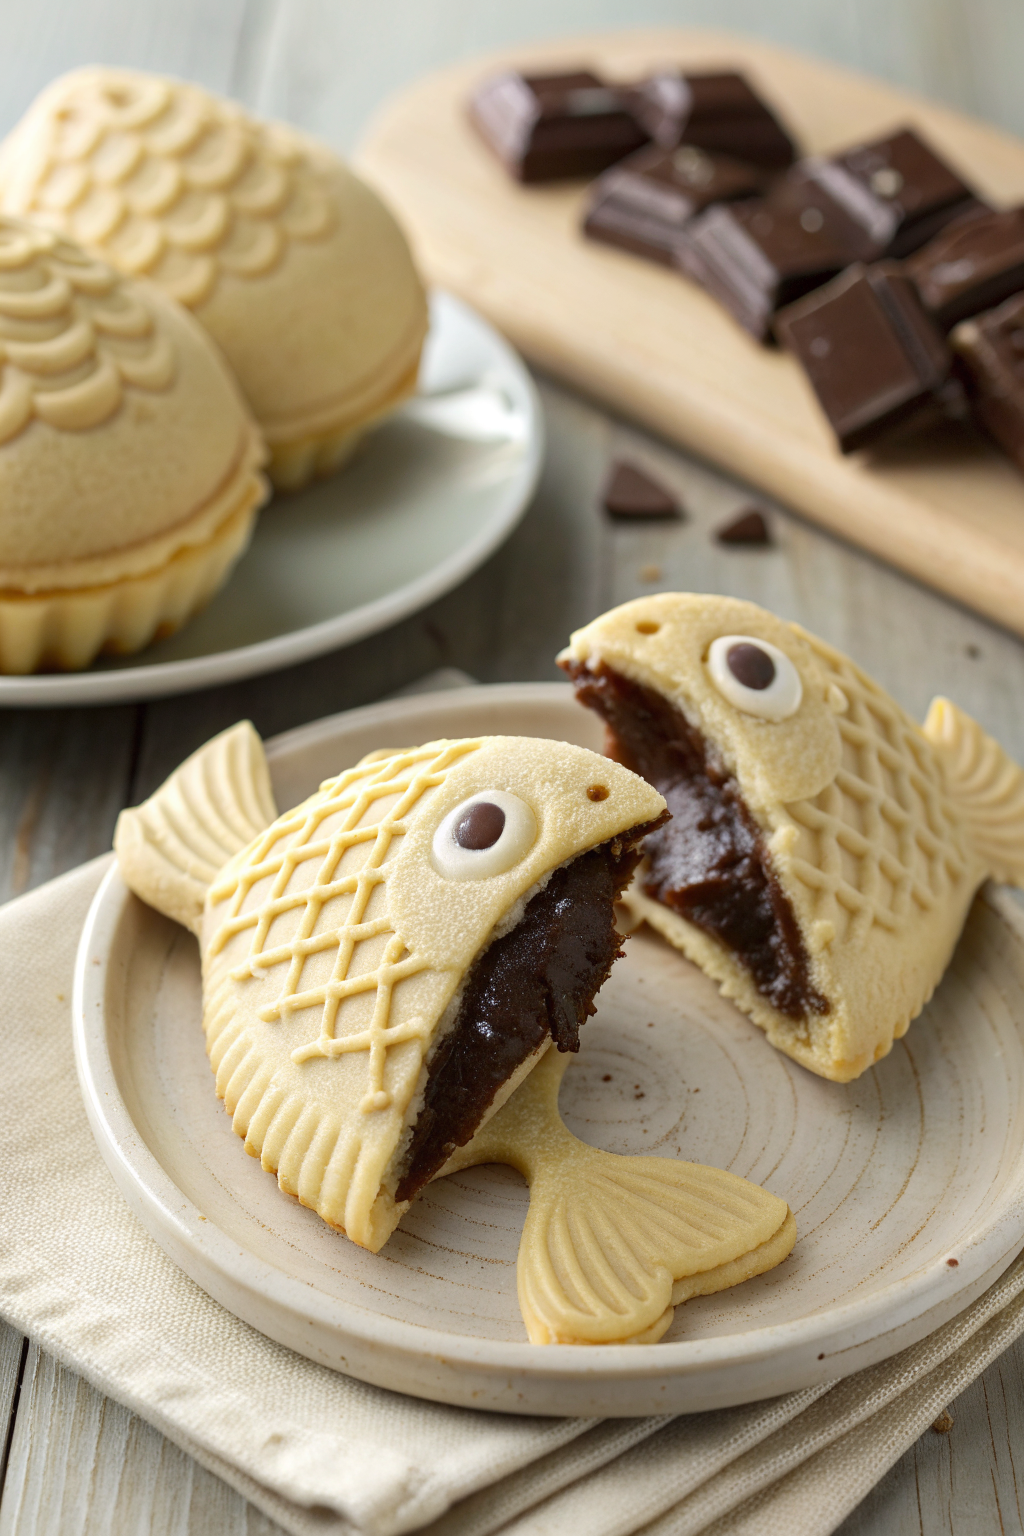
I love classic red bean taiyaki, but my kids vote for chocolate hazelnut every single time. The chocolate melts slightly and turns the center into a gooey surprise that tastes like dessert for breakfast. I also tried a peanut butter and honey combo that tasted like a peanut butter sandwich wrapped in a waffle.
Matcha custard taiyaki tastes great when you want something a little more grown up and not too sweet. I also enjoy a half and half version where I add red bean on one side of the fish and custard on the other side so every bite changes. You can even tuck in a small slice of banana with chocolate spread for a fun twist.
How to Serve Taiyaki Japanese Fish Dessert Recipe
Serve taiyaki warm so the outside stays crisp and the filling feels soft and cozy. I like to stack them on a plate, sprinkle a tiny bit of powdered sugar, and add fresh fruit like strawberries or sliced banana on the side. Kids love dipping taiyaki in vanilla ice cream or a small bowl of sweetened yogurt. You can also pack cooled taiyaki in lunch boxes as a fun dessert that still tastes great at room temperature.
How to store
- Room temperature: Keep leftover taiyaki in an airtight container at room temperature for up to 1 day.
- Fridge: Store in a sealed container in the refrigerator for 3 days; place parchment between layers so they do not stick.
- Freezer: Wrap each taiyaki in plastic or parchment, place in a freezer bag, and freeze for up to 1 month.
- Reheating: Reheat taiyaki in a toaster oven or air fryer at 350°F (175°C) for 3 to 5 minutes until hot and crisp again; avoid the microwave if possible because it turns the exterior chewy.
Taiyaki Japanese Fish Dessert Recipe
Ingredients
Instructions
- Add the flour, cornstarch, baking powder, sugar, and salt to a bowl and whisk to combine.
- In another bowl, whisk the egg, milk, neutral oil, and vanilla until smooth.
- Pour the wet ingredients into the dry ingredients while whisking gently.
- Stir until the batter looks smooth with no dry pockets, then stop mixing and let it rest for 10 minutes.
- Scoop the red bean paste or your chosen filling into a small bowl and keep a spoon nearby.
- Preheat the taiyaki pan over medium heat for 2 to 3 minutes.
- Lightly brush or wipe the inside of each fish mold with a thin layer of oil.
- Lower the heat slightly to medium low once the pan feels hot.
- Ladle a small amount of batter into one side of the taiyaki pan, just enough to cover the fish shape about halfway.
- Use the back of the ladle or a small spatula to nudge batter into the tail and nose so you fill all the details.
- Add about 1 to 1 1/2 teaspoons of filling in the center of each fish, leaving space around the edges.
- Cover the filling with a little more batter until you almost reach the top of the mold, but do not overflow.
- Close the taiyaki pan gently so the top mold meets the batter.
- Cook on the first side for about 2 to 3 minutes, then flip the entire pan.
- Cook the second side for another 2 to 3 minutes, adjusting the heat if the fish browns too quickly.
- Open the pan slightly and peek; the taiyaki should look golden brown with crisp edges.
- Use chopsticks or a small silicone spatula to lift each taiyaki out of the mold and place it on a cooling rack.
- Taste the first one and adjust cooking time or filling amount for the next batch if needed.
- Lightly oil the pan again and repeat with the remaining batter and filling.
- Serve warm or at room temperature.
Notes
Approximate per 1 taiyaki (1 of 8, with red bean filling): 160–190 calories; fat 6–7 g; saturated fat 1–2 g; carbohydrates 26–30 g; fiber 1–2 g; sugars 10–13 g; protein 4–5 g; sodium 90–130 mg. Values will vary based on fillings, exact ingredient brands, and portion size.