
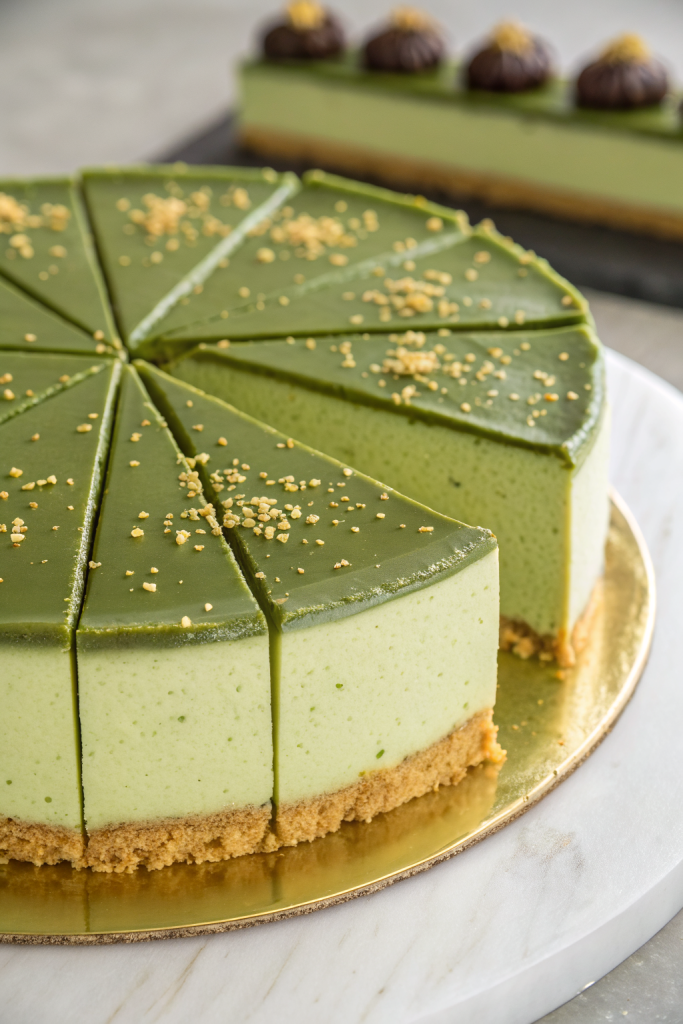
Original Matcha Japanese Cheesecake Recipe tastes like a cloud of creamy green tea goodness with a gentle tang and a barely sweet finish. It works perfectly for matcha lovers who want a lighter cheesecake that still feels special, and it takes about 2 hours total including baking and cooling time on the counter. I tested this version so many times that my neighbors started “checking in” at dessert o’clock.
Why Original Matcha Japanese Cheesecake Recipe Is Worth It
This style of Japanese cotton cheesecake feels lighter than classic New York cheesecake, so you can enjoy a full slice without needing a nap. The matcha adds a deep, earthy flavor that balances the cream cheese and sugar, so the dessert tastes complex instead of cloying.
You also bake it in a water bath, which keeps the texture soft and jiggly instead of dense. The recipe uses basic ingredients plus matcha powder, so you do not need anything fancy besides a springform pan and some patience.
“This Original Matcha Japanese Cheesecake Recipe tastes like a fluffy matcha cloud with cheesecake flavor in every bite, and it disappears from the fridge in one night at my house. ★★★★★”
Ingredients You Need
Main ingredients
- Cream cheese, full fat, 8 ounces
- Use a block style cream cheese, not whipped. I like Philadelphia for consistent texture, but any good quality brand works.
- Unsalted butter, 3 tablespoons, softened
- Salted butter works in a pinch; just reduce added salt slightly.
- Whole milk, 1/2 cup, room temperature
- Do not use skim milk; you need some richness for structure.
- Granulated sugar, 1/2 cup for the batter
- Use fine sugar if possible so it dissolves easily.
- Eggs, 4 large, separated, room temperature
- Cold eggs whip less easily, so let them sit out at least 20 minutes.
- Cake flour, 1/2 cup, sifted
- You can use all purpose flour if you sift it twice, but cake flour gives a softer crumb.
- Cornstarch, 2 tablespoons
- This helps the cheesecake stay tender and less dense.
- Matcha powder, 1 to 1 1/2 tablespoons, high quality
- Use a culinary grade matcha that tastes smooth and not too bitter. I like brands such as Ippodo or Matcha Love for baking.
- Fine sea salt, 1/4 teaspoon
- Lemon juice, 1 teaspoon
- This brightens the flavor and helps stabilize the egg whites.
- Vanilla extract, 1 teaspoon
- Optional, but it softens the edges of the matcha flavor.
Pantry shortcuts and notes
- If you only have all purpose flour, measure 1/2 cup, remove 1 tablespoon, and replace that tablespoon with cornstarch, then sift well.
- If your matcha has clumps, press it through a fine mesh sieve before mixing so you avoid green specks.
- You can use superfine sugar for the meringue portion to help it dissolve faster and give a smoother texture.
Sugar for meringue
- Granulated sugar, 1/4 cup
- This portion goes into the egg whites to create a glossy, stable meringue.
Equipment list
- 8 inch round springform pan or 8 inch round cake pan with tall sides
- Large roasting pan or deep baking tray for the water bath
- Electric hand mixer or stand mixer with whisk attachment
- Mixing bowls, at least one heatproof
- Fine mesh sieve for flour and matcha
- Rubber spatula
- Parchment paper
- Aluminum foil
- Kitchen scale if you want extra accuracy, especially for flour and matcha
- Toothpick or thin skewer to check doneness
Quick Tips & substitutions
- Line the bottom and sides of the pan with parchment so the cheesecake rises evenly and does not stick.
- Wrap the outside of the springform pan with two layers of foil so water from the bath does not seep in.
- Use room temperature cream cheese, butter, milk, and eggs so the batter mixes smoothly without lumps.
- Sift the matcha with the flour and cornstarch to avoid green clumps.
- Beat the egg whites until soft peaks, then slowly add sugar and stop at glossy medium to firm peaks so the cake rises without cracking.
- If you do not have cake flour, use the all purpose plus cornstarch trick and sift at least twice.
- If you want a milder matcha flavor, start with 1 tablespoon; for stronger flavor and deeper color, use 1 1/2 tablespoons.
- If you do not own a springform pan, use a regular 8 inch cake pan lined with a tall parchment collar and lift the cake out after chilling.
- Avoid opening the oven during the first 40 minutes so the cheesecake does not collapse.
- Cool the cheesecake gradually in the oven with the door slightly open to reduce cracks and shrinkage.
How to Make Original Matcha Japanese Cheesecake Recipe
Prep the pan and oven
- Preheat the oven to 320°F. Place a rack in the lower middle position so the top of the cheesecake sits in the center of the oven.
- Line the bottom of an 8 inch springform pan with parchment. Cut a strip of parchment for the sides and line them as well.
- Wrap the outside of the pan tightly with two layers of aluminum foil. Set the pan inside a large roasting pan to prepare for the water bath.
Make the matcha cream cheese base
- In a heatproof bowl over a pot of barely simmering water, add the cream cheese, butter, and milk. Stir gently until the mixture turns smooth and silky.
- Remove the bowl from the heat and let it cool for 3 to 5 minutes so it feels warm but not hot.
- Whisk in the egg yolks, one at a time, until fully combined. Add vanilla and lemon juice and whisk again.
- In a separate bowl, sift together cake flour, cornstarch, matcha powder, and salt.
- Sift this dry mixture directly into the cream cheese mixture. Whisk gently until no streaks of flour remain. The batter should look smooth and slightly thick.
Whip the meringue
- Place the egg whites in a clean, dry mixing bowl. Make sure no yolk gets into the whites, or they will not whip properly.
- Beat the egg whites on medium speed until they look foamy.
- Gradually add the 1/4 cup sugar while you continue to beat. Increase speed to medium high and whip until the meringue looks glossy and holds medium to firm peaks that curl slightly at the tip.
- Stop the mixer as soon as you reach that stage so you avoid over whipping, which can cause a grainy texture and cracks.
Fold the batter
- Add one third of the meringue into the matcha cream cheese batter. Use a whisk or spatula to fold gently and lighten the mixture.
- Add the second third of the meringue and fold with a spatula using slow, sweeping motions from bottom to top. Rotate the bowl as you go.
- Add the final third and fold until no visible streaks of white remain. Work gently so you keep as much air in the batter as possible.
- Tap the bowl lightly on the counter a couple of times to release any large air bubbles.
Bake in a water bath
- Pour the batter into the prepared pan and smooth the top with a spatula. Tap the pan lightly on the counter two or three times to pop surface bubbles.
- Place the roasting pan with the cheesecake on the oven rack. Carefully pour hot tap water into the roasting pan until it reaches about halfway up the sides of the cheesecake pan.
- Bake at 320°F for 20 minutes. Then reduce the oven temperature to 285°F without opening the door and bake for another 35 to 40 minutes.
- Check the cheesecake. The top should look set with a slight jiggle in the center when you gently shake the pan. A toothpick inserted near the center should come out mostly clean with a few moist crumbs.
Cool gradually
- Turn off the oven and crack the door open slightly with a wooden spoon. Leave the cheesecake inside for 15 to 20 minutes so the temperature drops slowly.
- Remove the roasting pan from the oven and lift the cheesecake pan out of the water. Peel off the foil and place the pan on a wire rack.
- Run a thin knife around the edge to loosen the sides from the pan. Let the cheesecake cool to room temperature, about 1 hour.
- Cover the pan and chill in the fridge for at least 4 hours, or overnight for the best texture and flavor.
Release and slice
- When fully chilled, unlatch the springform ring and peel away the parchment from the sides. Slide the cheesecake onto a serving plate, leaving the bottom parchment if it feels easier.
- Warm a sharp knife under hot water, wipe it dry, and slice with gentle downward motions. Wipe and rewarm the knife between cuts for clean slices.
- Dust the top lightly with extra matcha through a fine sieve if you want a bakery style finish.
Recipe Variations
- Gluten free: Replace cake flour with a gluten free all purpose blend that includes starches, and sift well.
- Lower sugar: Reduce total sugar by up to one third; the texture stays soft, though the cake may taste slightly more egg forward.
- Extra matcha: Swirl 1 teaspoon of matcha mixed with 2 teaspoons of hot water into the top of the batter before baking for a marbled effect.
- Citrus twist: Add 1 extra teaspoon of lemon zest to the batter for a brighter flavor that pairs nicely with matcha.
- Chocolate matcha: Sprinkle a handful of mini chocolate chips over the batter before baking for a green tea and chocolate combo.
- Dairy light: Swap half the cream cheese with full fat Greek yogurt for a tangier, slightly lighter cheesecake.
Ways to Serve Original Matcha Japanese Cheesecake Recipe
- Serve chilled with a small dollop of lightly sweetened whipped cream.
- Add fresh berries such as strawberries, raspberries, or blueberries for color and brightness.
- Pair with hot matcha, green tea, or jasmine tea for a cozy afternoon treat.
- Cut into small cubes and serve on a dessert board with fruit and dark chocolate pieces.
- Top with a drizzle of sweetened condensed milk for extra richness.
Storage Success
Store leftover Original Matcha Japanese Cheesecake Recipe covered in the fridge for up to 4 days. I like to keep slices in an airtight container so they do not pick up fridge smells. Place parchment between slices if you stack them so the sides stay neat. If you want to keep it longer, freeze individual slices on a tray, then wrap them and store for up to 1 month, and thaw in the fridge before serving.
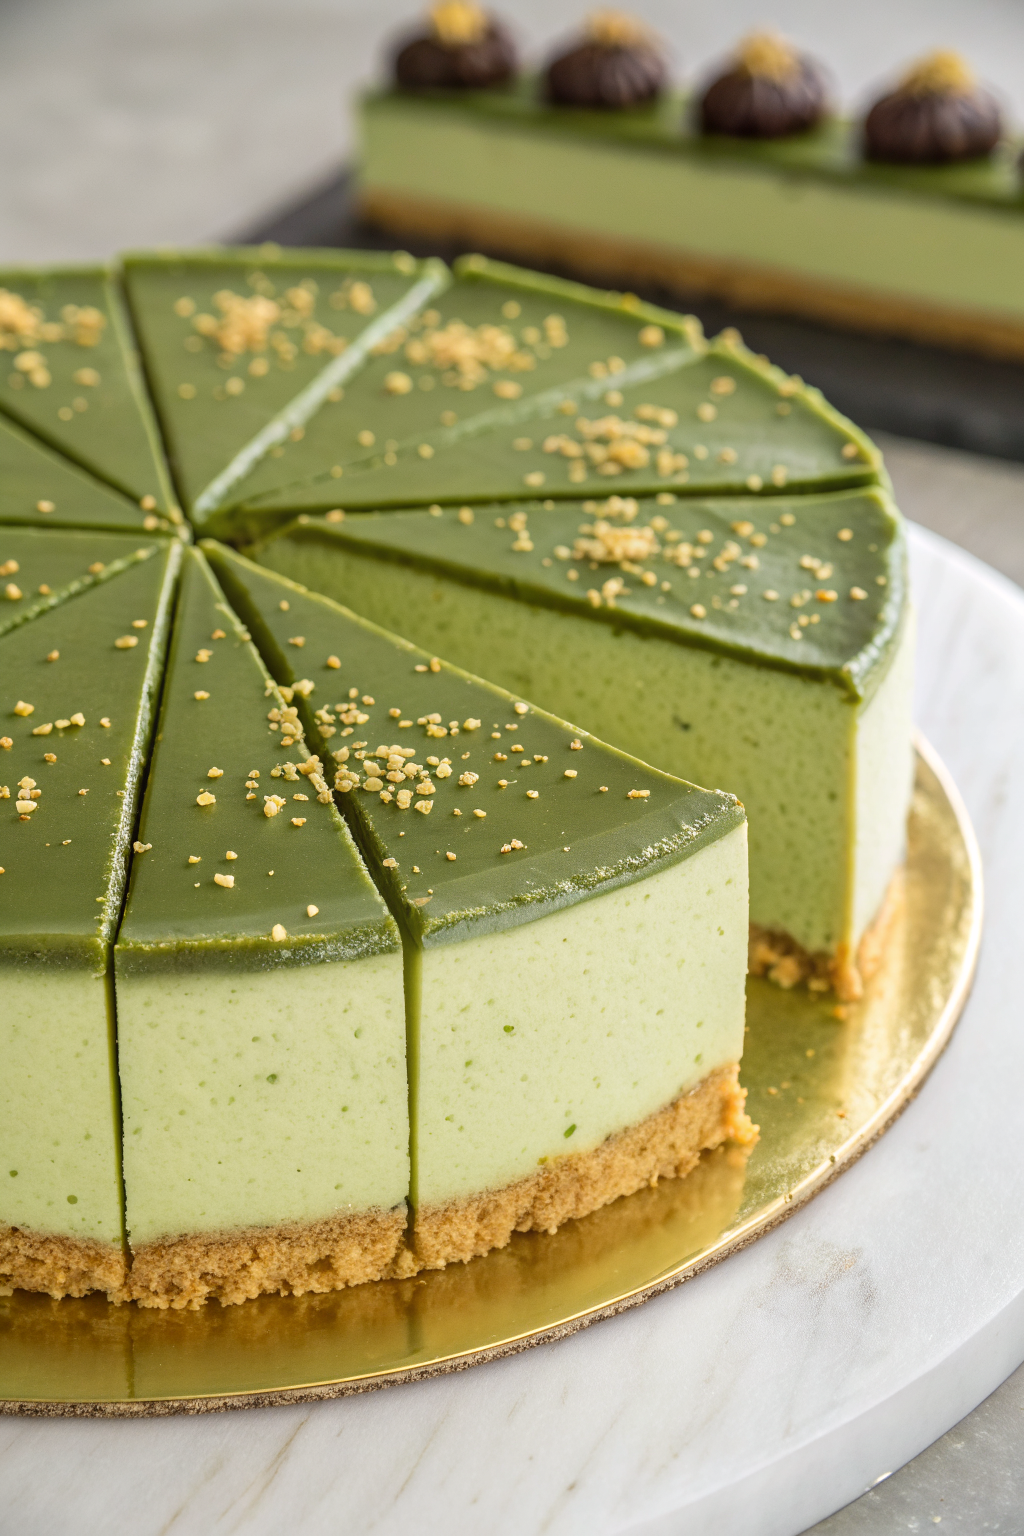
Original Matcha Japanese Cheesecake Recipe
Ingredients
Instructions
- Preheat the oven to 320°F and place a rack in the lower middle position so the top of the cheesecake sits near the center of the oven.
- Line the bottom of an 8-inch springform pan with parchment paper and line the sides with a strip of parchment.
- Wrap the outside of the springform pan tightly with two layers of aluminum foil and set it inside a large roasting pan for a water bath.
- In a heatproof bowl set over a pot of barely simmering water, combine the cream cheese, butter, and whole milk. Stir gently until the mixture is smooth and silky, then remove from the heat.
- Let the mixture cool for 3 to 5 minutes until warm but not hot, then whisk in the egg yolks one at a time until fully combined.
- Whisk in the vanilla extract and lemon juice until incorporated.
- In a separate bowl, sift together the cake flour, cornstarch, matcha powder, and fine sea salt.
- Sift the dry mixture directly into the warm cream cheese mixture and whisk gently until no streaks of flour remain and the batter is smooth and slightly thick.
- Place the egg whites in a clean, dry mixing bowl, ensuring no yolk is present.
- Beat the egg whites on medium speed until foamy, then gradually add the 1/4 cup granulated sugar while beating.
- Increase to medium-high speed and whip until the meringue is glossy and holds medium to firm peaks that curl slightly at the tip. Stop beating as soon as this stage is reached to avoid overwhipping.
- Add one-third of the meringue to the matcha cream cheese batter and fold gently with a whisk or spatula to lighten the mixture.
- Add another third of the meringue and fold with slow, sweeping motions from the bottom to the top, rotating the bowl as you go.
- Fold in the final third of the meringue just until no visible streaks of white remain, taking care to keep as much air in the batter as possible.
- Tap the bowl lightly on the counter a couple of times to release any large air bubbles.
- Pour the batter into the prepared pan and smooth the top with a spatula, then tap the pan lightly on the counter two or three times to pop surface bubbles.
- Place the roasting pan with the cheesecake on the oven rack and carefully pour hot tap water into the roasting pan until it reaches about halfway up the sides of the cheesecake pan.
- Bake at 320°F for 20 minutes, then reduce the oven temperature to 285°F without opening the door and continue baking for 35 to 40 minutes.
- Check doneness: the top should look set with a slight jiggle in the center when gently shaken, and a toothpick inserted near the center should come out mostly clean with a few moist crumbs.
- Turn off the oven and crack the door open slightly with a wooden spoon. Leave the cheesecake inside for 15 to 20 minutes to cool gradually.
- Remove the roasting pan from the oven, lift the cheesecake pan out of the water, peel off the foil, and place the pan on a wire rack.
- Run a thin knife around the edge to loosen the sides from the pan and let the cheesecake cool to room temperature, about 1 hour.
- Cover the pan and chill the cheesecake in the refrigerator for at least 4 hours or overnight for the best texture and flavor.
- When fully chilled, unlatch the springform ring and remove it, then peel away the parchment from the sides.
- Carefully slide the cheesecake onto a serving plate, leaving the bottom parchment if it feels easier to handle.
- Warm a sharp knife under hot water, wipe it dry, and slice the cheesecake with gentle downward motions, wiping and rewarming the knife between cuts for clean slices.
- Dust the top lightly with additional sifted matcha powder if desired before serving.
Notes
Approximate per 1 slice (1/8 of cake): 230–260 calories; fat 17–19 g; saturated fat 9–11 g; carbohydrates 16–19 g; fiber 0–1 g; sugars 12–15 g; protein 6–8 g; sodium 160–220 mg. Values are estimates and will vary based on specific brands, matcha amount, and portion size.