
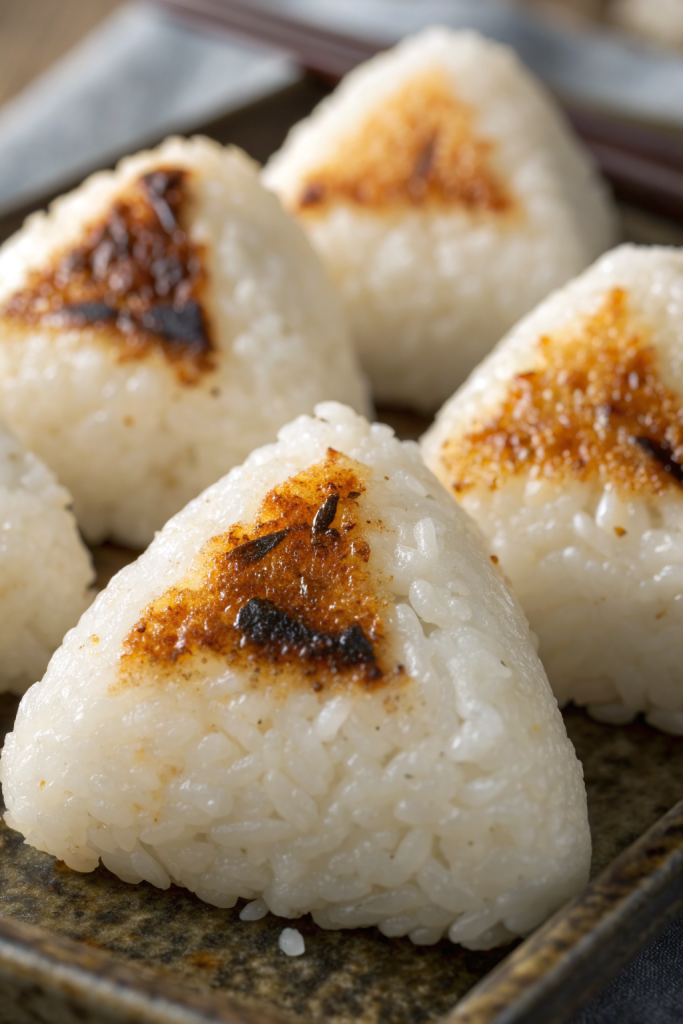
Yaki Onigiri Japanese Grilled Rice Balls Recipe tastes smoky, salty, a little nutty from the crisped rice, and wildly comforting if you love simple Japanese flavors. It works perfectly for busy home cooks who want a fast snack or side dish in about 35 minutes from start to finish, including shaping and grilling. I still eat these standing at the stove sometimes, because old restaurant habits die hard.
Why You Should Try This Yaki Onigiri Japanese Grilled Rice Balls Recipe
This recipe turns plain rice into something crunchy on the outside and soft in the middle, with a savory soy glaze that hits all the right notes. It works for lunchboxes, quick snacks, or as a fun side dish with miso soup and veggies.
You can customize the filling or skip it and keep the grilled rice balls plain, which makes them friendly for picky eaters and kids. The recipe uses simple pantry ingredients, so you probably own most of what you need already.
“These Yaki Onigiri Japanese Grilled Rice Balls taste like the best part of crispy rice at the bottom of the pot, but in perfect handheld form, ★★★★★”
Ingredients You’ll Need
Rice
- 2 cups uncooked Japanese short-grain rice
- Use sushi rice or any Japanese short-grain variety.
- Avoid long-grain rice, jasmine, or basmati, because they do not stick well.
- 2 1/4 cups water, for cooking the rice
- 1/2 teaspoon fine sea salt, to season the cooked rice lightly
I recommend brands like Kokuho Rose, Nishiki, or Tamaki for consistent texture. If you use a rice cooker, follow the water line for white rice and adjust salt to taste.
Soy glaze
- 2 tablespoons soy sauce
- Use regular Japanese soy sauce like Kikkoman or Yamasa.
- Use low sodium soy sauce if you prefer a milder salt level.
- 1 tablespoon mirin
- If you do not keep mirin, use 2 teaspoons sugar plus 1 teaspoon water as a quick swap.
- 1 teaspoon sugar, optional, for a slightly glossy, caramelized finish
- 1 teaspoon toasted sesame oil
This glaze gives the Yaki Onigiri Japanese Grilled Rice Balls Recipe that classic salty sweet flavor and beautiful color. Stir it well so the sugar dissolves before you brush it on.
Optional fillings
Pick one or mix and match small amounts. You only need about 1 to 2 teaspoons filling per rice ball.
- Flaked grilled salmon with a pinch of salt
- Tuna mixed with a little Japanese mayo and soy sauce
- Pickled plum (umeboshi), pit removed and chopped
- Seasoned kombu or other Japanese pickles, finely chopped
- Shredded nori or furikake rice seasoning
Keep fillings dry or only lightly sauced, so the rice holds its shape. Strong, salty fillings work best because you only use a tiny amount.
Toppings and finishing touches
- Toasted sesame seeds, white or black
- Thin strips of nori for wrapping or decorating
- Extra soy sauce to serve on the side
- Scallions, finely sliced, for sprinkling
These toppings add texture and color, and they help the Yaki Onigiri look like they came from a cozy Tokyo izakaya.
Equipment
- Rice cooker or a medium saucepan with lid
- Large bowl for mixing and cooling rice
- Small bowl of water with a pinch of salt for dipping your hands
- Grill pan, cast iron skillet, nonstick skillet, or outdoor grill
- Silicone brush or small spoon for the soy glaze
- Spatula or tongs to turn the rice balls gently
If you own a nonstick pan, use it the first time you try this recipe. It gives you more forgiveness while you learn how firm to pack the rice.
Tips & Tricks
- Rinse the rice 3 to 4 times until the water runs mostly clear, so the grains cook fluffy and not gummy.
- Let the cooked rice rest covered for 10 minutes, then fluff and cool until just warm before shaping.
- Wet your hands with salted water before handling the rice so it does not stick and the surface seasons lightly.
- Pack the rice firmly but gently, like forming a snowball, so the Yaki Onigiri hold together without turning dense.
- Shape the rice balls smaller than your palm if you feel unsure, since smaller ones stay intact more easily.
- Keep fillings tiny and centered, and seal them well with rice on all sides.
- Preheat your pan or grill on medium so the outside crisps slowly without burning.
- Brush the soy glaze on after the rice surface dries and firms up, not right away.
- Turn the rice balls with a thin spatula or tongs and support them with your other hand if needed.
- If the rice sticks to the pan, wait another 30 seconds, since a good crust usually releases more easily.
How to Make Yaki Onigiri Japanese Grilled Rice Balls Recipe
Cook the rice
- Measure the short-grain rice into a bowl and rinse it under cold water. Swirl with your hand, drain the cloudy water, and repeat until the water looks mostly clear.
- Drain the rice well and place it in a rice cooker or saucepan with the measured water. Cook according to your rice cooker instructions or bring to a boil on the stove, then cover, lower the heat, and simmer for about 12 minutes.
- Turn off the heat and let the rice sit covered for 10 minutes so the steam finishes the cooking. Fluff the rice gently with a rice paddle or spatula and spread it in a large bowl to cool until just warm to the touch.
Season and prepare for shaping
- Sprinkle the salt over the warm rice and fold it in gently so you do not crush the grains. Taste a small bite and adjust the salt if you like.
- Set a small bowl of water near your work area and dissolve a pinch of salt in it. This helps season the surface and keeps the rice from sticking to your hands.
- Prepare any fillings now and keep them close by in small bowls. Keep the amounts tiny so the rice can wrap around them easily.
Shape the rice balls
- Dip your clean hands in the salted water and shake off the excess. Scoop about 1/3 to 1/2 cup of warm rice into one hand.
- If you use a filling, press a shallow dent in the center of the rice and place 1 to 2 teaspoons of filling inside. Cover the filling with a little more rice and press it closed.
- Shape the rice into a triangle by cupping your hands and gently pressing the sides. Turn and press a few times until you form a firm triangle with slightly rounded corners.
- Repeat with the remaining rice, wetting your hands again as needed. Line the shaped onigiri on a plate or tray.
Mix the soy glaze
- In a small bowl, combine soy sauce, mirin, sugar, and toasted sesame oil. Stir until the sugar dissolves.
- Taste a drop and adjust the sweetness or saltiness to your liking. Set the glaze aside with a small brush or spoon ready.
Grill the onigiri
- Heat a grill pan, cast iron skillet, or nonstick pan over medium heat. Add a light coating of neutral oil and swirl to cover the surface.
- Place the plain rice balls in the pan without crowding. Let them cook for 3 to 4 minutes on the first side, until the bottom feels firm and lightly golden.
- Turn each rice ball gently with a spatula or tongs and cook the other sides. Rotate as needed so all three sides crisp and take on a light golden color.
- When the surface feels dry and firm, brush a thin layer of soy glaze on one side. Cook that side for 30 to 60 seconds until it sizzles and deepens in color, then turn and glaze another side.
- Repeat until you coat and caramelize each side lightly. Keep the heat at medium so the glaze does not burn.
- Move the finished Yaki Onigiri to a plate and sprinkle with sesame seeds, scallions, or nori if you like. Serve hot or warm.
What to Serve with Yaki Onigiri Japanese Grilled Rice Balls Recipe
Yaki Onigiri pair beautifully with a simple bowl of miso soup and a side of steamed or sautéed vegetables like spinach, bok choy, or broccoli. You can pack them in bento boxes with sliced cucumber, cherry tomatoes, tamagoyaki, and some fruit for a balanced meal. They also taste great alongside grilled chicken skewers or tofu, since the soy glaze ties everything together. Kids often enjoy them with miso soup and sliced oranges or apples for a cozy, simple dinner.
Storage Options
- Cool leftover Yaki Onigiri to room temperature, then wrap each one tightly in plastic wrap and place them in an airtight container in the fridge for up to 2 days.
- To freeze, wrap each grilled rice ball in plastic, then place them in a freezer bag, squeeze out the air, and freeze for up to 1 month.
- Reheat from the fridge in a covered skillet with a splash of water over low heat, or microwave covered with a damp paper towel until hot, then crisp briefly in a lightly oiled pan if you want the crust again.
- Reheat from frozen in the microwave until warm, then finish in a skillet or air fryer to bring back the toasty exterior.
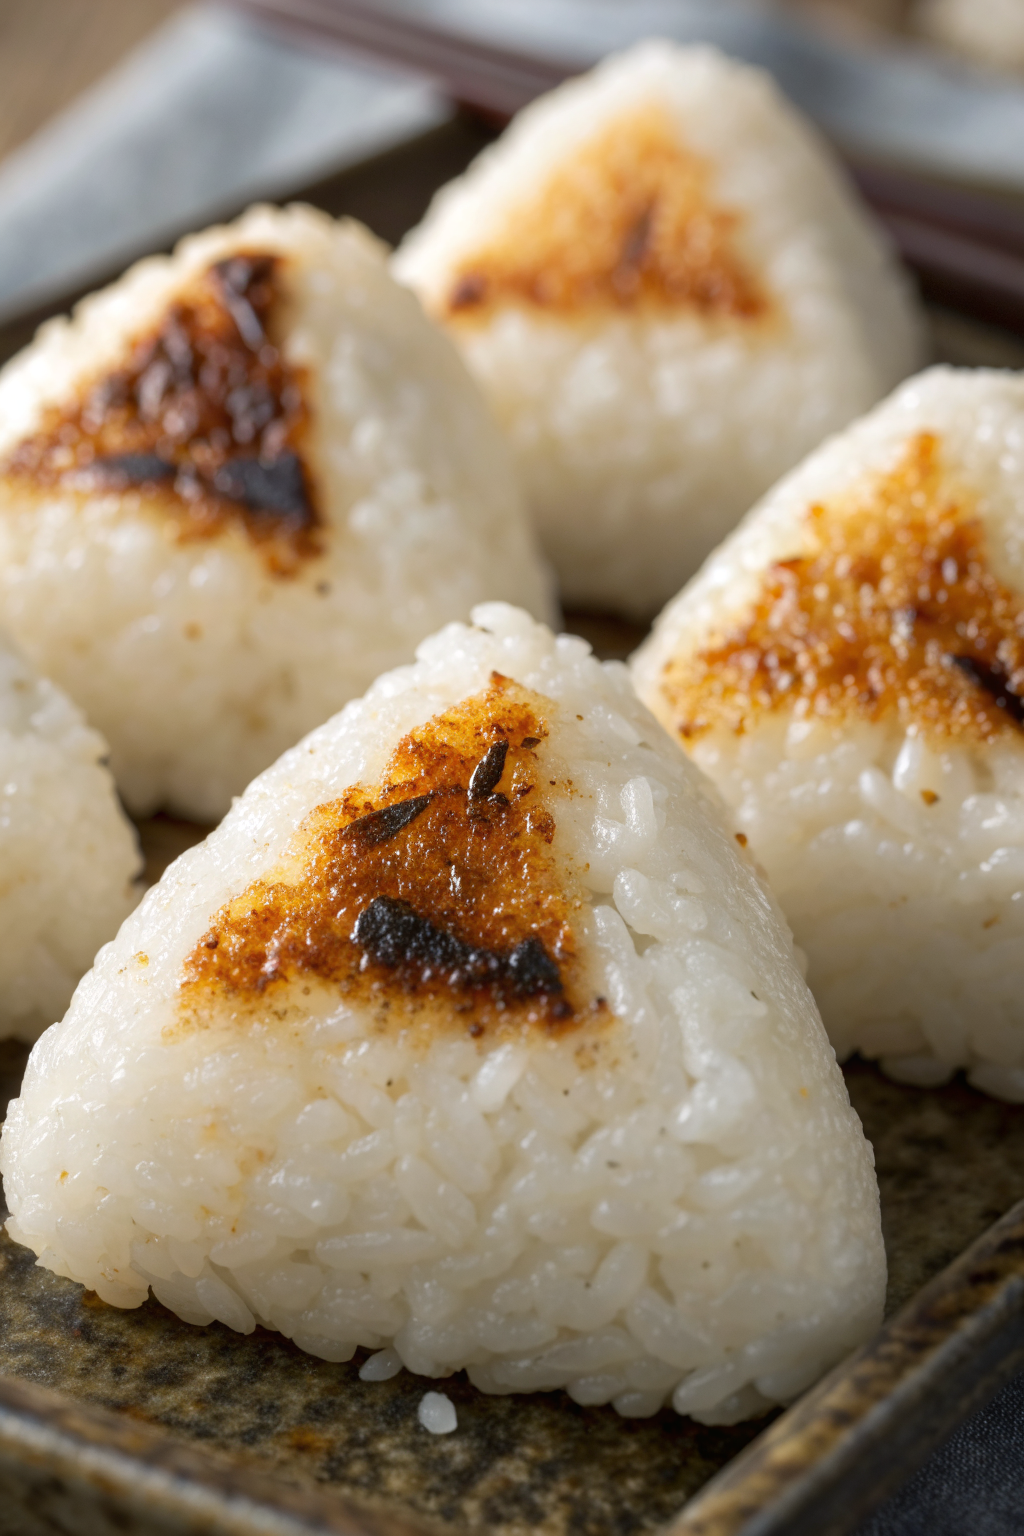
Yaki Onigiri Japanese Grilled Rice Balls Recipe
Ingredients
Instructions
- Rinse the Japanese short-grain rice under cold water, gently swirling with your hand and draining several times until the water runs mostly clear.
- Drain well, then add the rice and measured water to a rice cooker or medium saucepan. Cook according to the rice cooker instructions, or bring to a boil on the stove, cover, reduce heat to low, and simmer for about 12 minutes.
- Turn off the heat and let the rice sit covered for 10 minutes so it finishes steaming. Fluff gently and spread in a large bowl to cool until just warm to the touch.
- Sprinkle the fine sea salt over the warm rice and fold it in gently without crushing the grains. Taste and adjust salt if needed.
- Fill a small bowl with water and add a pinch of salt, stirring to dissolve. This salted water will prevent the rice from sticking to your hands and will lightly season the surface.
- Prepare any optional fillings now, keeping them finely flaked or chopped and not too wet so the rice can hold its shape.
- Dip clean hands into the salted water and shake off excess. Scoop about 1/3 to 1/2 cup of warm rice into one hand.
- If using a filling, press a shallow dent in the center of the rice and place about 1 to 2 teaspoons of filling inside. Cover with a little more rice and press gently to seal.
- Shape the rice into a triangle by cupping your hands and gently pressing the sides, turning and pressing until you have a firm triangle with slightly rounded corners.
- Repeat with the remaining rice, moistening your hands with salted water as needed, and place the formed onigiri on a plate or tray.
- In a small bowl, combine the soy sauce, mirin, sugar if using, and toasted sesame oil.
- Stir until the sugar dissolves and the glaze is smooth, then set aside with a small brush or spoon ready for glazing.
- Heat a grill pan, cast iron skillet, or nonstick skillet over medium heat. Lightly coat the surface with neutral oil.
- Place the plain rice balls in the pan without crowding. Cook for 3 to 4 minutes on the first side, until the bottom feels firm and lightly golden.
- Turn each rice ball carefully with a spatula or tongs and cook the remaining sides, rotating so all three sides crisp and turn a light golden color.
- When the surface feels dry and firm, brush a thin layer of the soy glaze onto one side. Cook for 30 to 60 seconds until it sizzles and deepens in color, then turn and glaze another side.
- Repeat until each side is lightly coated and caramelized, keeping the heat at medium so the glaze does not burn.
- Transfer the grilled Yaki Onigiri to a plate and sprinkle with toasted sesame seeds, nori strips, or scallions if desired. Serve hot or warm with extra soy sauce on the side.
Notes
Approximate per 1 onigiri (about 1/8 of recipe, without fillings or toppings): 160 calories; fat 2 g; saturated fat 0 g; carbohydrates 32 g; fiber 1 g; sugars 2 g; protein 3 g; sodium 260 mg. Values will vary based on fillings, toppings, brands, and portion size.