
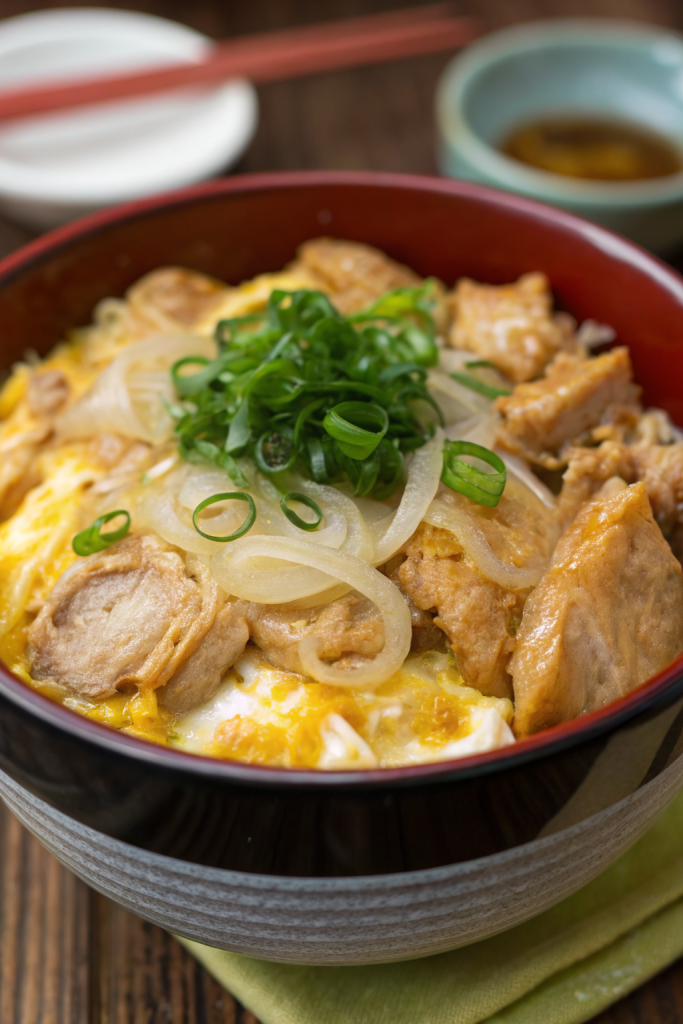
Oyakodon Japanese Chicken Egg Rice Bowl Recipe tastes like the coziest chicken soup and fluffy scrambled eggs decided to hug a bowl of rice. It works perfectly for busy nights because you cook it in about 25 minutes from start to finish. I started making this on weeknights when my kids were tiny and now they request it whenever anyone even whispers “rice bowl.”
Why Oyakodon Japanese Chicken Egg Rice Bowl Recipe Is Worth It
Oyakodon Japanese Chicken Egg Rice Bowl Recipe gives you tender chicken, silky eggs, sweet onions, and savory dashi over hot rice in one pan. You get comfort food, protein, and carbs all together, so cleanup stays easy and your sink does not stage a revolt.
The recipe uses simple pantry staples like soy sauce, mirin, and sugar, so you skip complicated shopping trips. You also control the seasoning and egg texture, which means you can adjust it for picky eaters or spice lovers without stress.
This Oyakodon Japanese Chicken Egg Rice Bowl Recipe tastes like a cozy Japanese diner at home and comes together faster than takeout ★★★★★
Ingredients You Need
For the rice bowl base
- 2 cups cooked Japanese short grain rice, hot and fluffed
- Use sushi rice or Calrose rice for the best sticky texture.
- In a pinch, use medium grain rice, but avoid long grain because it turns out too dry.
For the chicken and egg topping
- 2 small boneless skinless chicken thighs, about 8 ounces total, cut into bite size strips
- Thighs stay juicy and forgiving; chicken breast works if you slice it thin and cook it gently.
- 1 small onion, thinly sliced
- Yellow or sweet onion both taste great.
- 3 large eggs, lightly beaten with chopsticks or a fork
- Do not beat until frothy; keep some streaks for a tender, custardy finish.
- 1 green onion, thinly sliced, for garnish
- Shichimi togarashi (Japanese chili seasoning), optional for a little heat
For the savory simmer sauce
- 1 cup dashi stock
- Use instant dashi granules with water as a shortcut; I like Hondashi brand for consistent flavor.
- If you cannot find dashi, use low sodium chicken broth plus a small pinch of kombu powder or a splash of fish sauce.
- 3 tablespoons soy sauce
- Use regular Japanese soy sauce like Kikkoman; choose low sodium if you watch salt.
- 2 tablespoons mirin
- Mirin adds sweetness and gloss; if you cannot find it, mix 1½ tablespoons sake with ½ tablespoon sugar.
- 1 tablespoon sake
- Skip it if needed and add an extra teaspoon of mirin or sugar.
- 1 to 1½ tablespoons sugar, to taste
Equipment list
- Medium nonstick skillet or shallow pan with lid, about 8 to 10 inches
- Cutting board and sharp knife
- Small bowl or measuring cup for mixing sauce
- Chopsticks or fork for beating eggs
- Rice cooker or pot for cooking rice
- Ladle or large spoon for serving
Quick Tips & substitutions
- Slice chicken thin so it cooks quickly and stays tender.
- Cut onions very thin so they soften in the short simmer time.
- Use instant dashi granules with hot water to save time on stock.
- Taste the simmer sauce before adding chicken and adjust sugar or soy to your preference.
- Keep eggs slightly streaky when you beat them so they turn out soft, not rubbery.
- Pour eggs in two stages if you want a mix of soft curds and slightly set egg.
- Use chicken breast instead of thigh, but shorten the cooking time so it does not dry out.
- Swap soy sauce with tamari for a gluten free version, and check dashi and mirin labels.
- Use leftover rotisserie chicken; add it after onions soften and just warm it in the sauce.
- Cook rice ahead and reheat it in the microwave to make this a true 15 minute dinner.
How to Make Oyakodon Japanese Chicken Egg Rice Bowl Recipe
Step 1: Cook the rice
Cook 1 cup uncooked Japanese short grain rice according to package directions, which yields about 2 cups cooked. Use a rice cooker if you have one, since it gives the best texture with less effort. Keep the rice hot and covered while you prepare the topping.
Step 2: Prep the ingredients
Trim any excess fat from the chicken thighs and slice them into thin bite size strips. Slice the onion into thin half moons so they soften evenly. Crack the eggs into a bowl and beat them gently until the whites and yolks mostly combine but still show a few streaks.
Step 3: Mix the simmer sauce
In a small bowl or measuring cup, combine dashi stock, soy sauce, mirin, sake, and sugar. Stir until the sugar dissolves. Taste a spoonful and adjust with a little more sugar for sweetness or soy sauce for saltiness.
Step 4: Simmer onions and chicken
Pour the simmer sauce into your skillet and bring it to a gentle simmer over medium heat. Add the sliced onions and cook them for about 3 to 4 minutes until they turn soft and slightly translucent. Add the chicken pieces in a single layer, cover the pan, and cook for about 4 to 5 minutes until the chicken cooks through and no pink remains.
Step 5: Add the eggs
Lower the heat to medium low so the sauce barely simmers. Pour about two thirds of the beaten eggs evenly over the chicken and onions, moving your chopsticks gently through the mixture to form soft curds. Cover and cook for 30 to 45 seconds until the eggs just start to set but still look slightly runny on top.
Step 6: Finish with soft, silky eggs
Pour the remaining eggs over the top, focusing on any spots that look dry. Cover again and cook for another 20 to 30 seconds, then turn off the heat and let the pan sit covered for 1 minute. The residual heat finishes the eggs so they stay silky and custardy, not dry.
Step 7: Assemble the rice bowls
Spoon hot rice into individual bowls and level the surface slightly. Slide or ladle the chicken and egg mixture over each bowl, making sure you scoop plenty of sauce so it soaks into the rice. Top with sliced green onion and a light sprinkle of shichimi togarashi if you like a little kick.
Recipe Variations
-
Gluten free
- Use tamari instead of soy sauce and check that your dashi granules and mirin list gluten free on the label.
-
Low carb
- Serve the chicken and egg mixture over steamed shredded cabbage, cauliflower rice, or shirataki rice.
-
Extra protein
- Add an extra egg or two and reduce the rice portion slightly.
-
Veggie loaded
- Add sliced shiitake mushrooms, spinach, or napa cabbage with the onions.
-
Spicy version
- Add a spoonful of chili crisp or extra shichimi togarashi over the finished bowl.
-
No alcohol version
- Skip sake and mirin; use extra dashi and a bit more sugar to balance flavor.
-
Kid friendly
- Reduce soy sauce slightly and increase sugar a touch for a milder, sweeter taste.
Ways to Serve Oyakodon Japanese Chicken Egg Rice Bowl Recipe
- Serve with miso soup and a small cucumber salad for a simple Japanese style meal.
- Add a side of steamed edamame with sea salt for extra protein and fiber.
- Pack leftovers in a microwave safe bowl for an easy work lunch.
- Top with extra green onions and toasted sesame seeds for more texture.
- Pair with hot green tea or iced barley tea for a light, soothing drink.
Storage Success
Store leftover Oyakodon Japanese Chicken Egg Rice Bowl Recipe in an airtight container in the fridge for up to 2 days. Keep the rice and chicken egg topping in separate containers if possible so the rice does not soak up all the sauce. Reheat gently in the microwave at medium power, stirring halfway, until hot but not overcooked. Add a splash of dashi or water before reheating if the mixture looks dry, and give it a quick stir to bring back that silky texture.
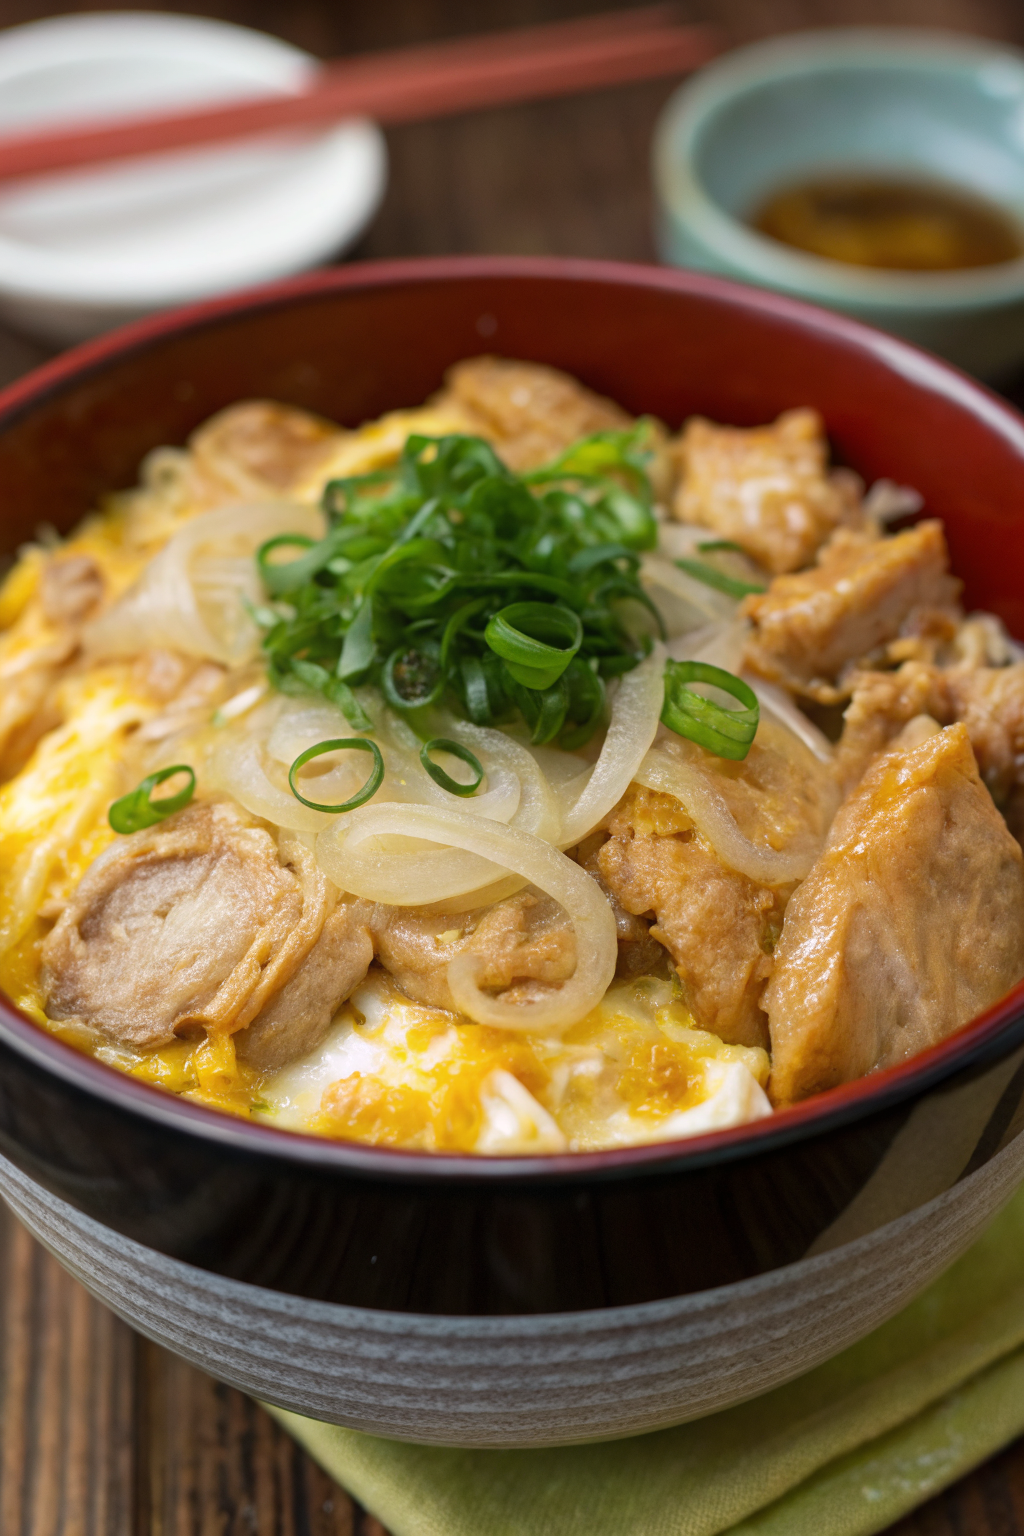
Oyakodon Japanese Chicken Egg Rice Bowl Recipe
Ingredients
Instructions
- Prepare the hot cooked Japanese short-grain rice and keep it covered so it stays warm.
- In a small bowl or measuring cup, combine the dashi stock, soy sauce, mirin, sake (if using), and sugar. Stir until the sugar is dissolved.
- In a medium skillet or small frying pan, add the sliced onion and the prepared sauce mixture. Bring to a gentle simmer over medium heat and cook for 3–4 minutes until the onions are slightly softened.
- Add the chicken pieces in a single layer over the onions. Cover and simmer for 6–8 minutes, turning once if needed, until the chicken is just cooked through.
- Pour about two-thirds of the beaten eggs evenly over the simmering chicken and onions. Cover and cook for 1–2 minutes until the eggs are just beginning to set but are still slightly runny.
- Drizzle the remaining beaten eggs over the pan, cover again, and cook for another 30–60 seconds, depending on how soft you prefer the eggs. The eggs should be just set and silky.
- Divide the hot rice between two deep bowls. Gently slide or scoop half of the chicken-and-egg mixture with onions and sauce onto each bowl of rice.
- Garnish with sliced green onions and a small sprinkle of shichimi togarashi if desired. Serve immediately while hot.
Notes
Approximate per serving: 580 calories; fat 17 g; saturated fat 4 g; carbohydrates 72 g; fiber 2 g; sugars 9 g; protein 32 g; sodium 1450 mg. Values are estimates and will vary based on specific ingredients, brands, and portion size.
Leave a Reply