
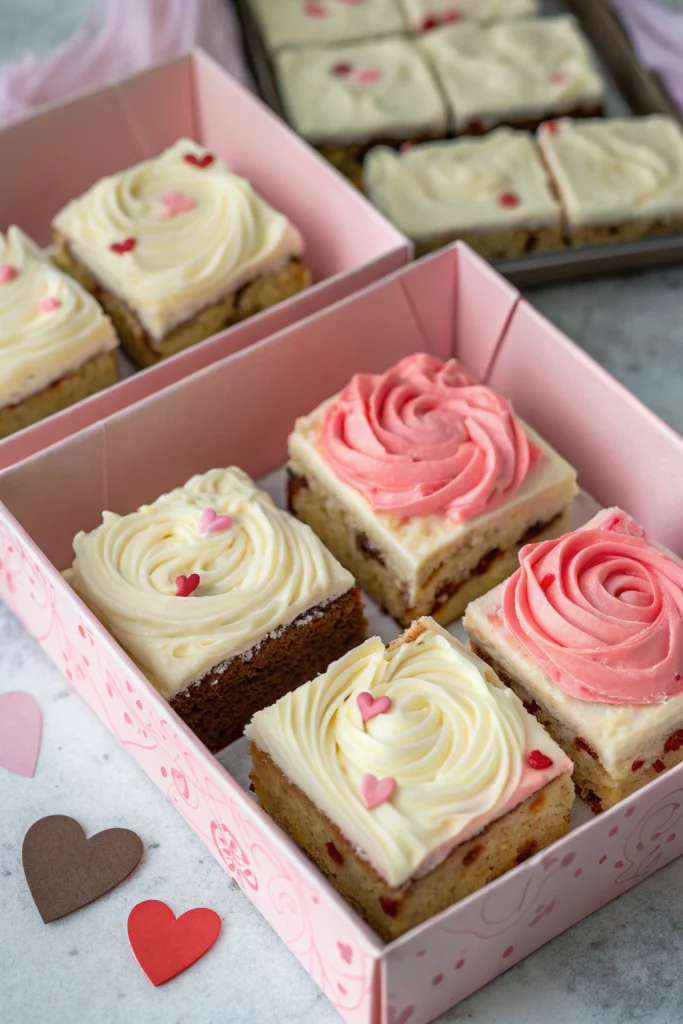
Delicious Letterbox Brownies Recipe tastes ultra fudgy, slightly chewy at the edges, and rich enough to make any chocolate lover pause mid-sentence. It suits busy bakers who want a giftable, mail-friendly treat that comes together in about 1 hour, including baking and cooling just enough to slice. I first mailed a batch to my college roommate during finals week, and she called me in tears because the brownies tasted better than the campus counseling snacks.
Why You Should Try This Delicious Letterbox Brownies Recipe
This Delicious Letterbox Brownies Recipe gives you dense, bakery-style brownies that slice cleanly and travel like champs. The top bakes into a shiny, crackly crust while the center stays fudgy, not cakey, so every bite tastes like the corner piece.
You bake these brownies in a shallow tin that fits through a standard letterbox, so you can ship them or slide them through a door slot without drama. The recipe uses simple pantry ingredients, so you skip fancy chocolate or complicated techniques and still get serious flavor.
“I received these brownies in the mail after a rough week, and I ate one standing at the mailbox. They tasted rich, fudgy, and somehow still fresh, with that perfect crackly top. They arrived in perfect shape, sliced neatly and wrapped snugly, and I may or may not have hidden the last two pieces from my family.”
Ingredients You’ll Need
Brownie base
- 1 cup (225 g) unsalted butter, cut into chunks
- Use a good supermarket butter; no need for fancy European brands.
- 8 oz (225 g) dark chocolate, roughly chopped
- Aim for 60–70% cocoa; I like Ghirardelli or Lindt baking bars.
- 1 ¾ cups (350 g) granulated sugar
- ½ cup (100 g) light brown sugar, packed
- Brown sugar adds moisture and a hint of caramel flavor.
- 4 large eggs, room temperature
- 2 tsp pure vanilla extract
- 1 cup (125 g) all-purpose flour
- ¼ cup (25 g) cocoa powder
- Use natural or Dutch-process; Dutch gives deeper color and flavor.
- ½ tsp fine sea salt
Optional mix-ins and toppings
Pick one or two so the brownies still slice neatly for mailing.
- ½ cup semi-sweet chocolate chips or chunks
- ½ cup chopped walnuts or pecans
- ½ cup mini marshmallows
- ¼ cup caramel sauce, thick, swirled on top
- Flaky sea salt for sprinkling after baking
Equipment
- 9 x 13 inch shallow baking tin or letterbox-style brownie tin
- A standard 9 x 13 pan works; aim for a low profile so slices fit into mailing boxes.
- Parchment paper
- Medium saucepan or heatproof bowl plus small pot for a double boiler
- Large mixing bowl
- Whisk and rubber spatula
- Sharp knife for slicing
- Kitchen scale if you want extra accuracy
Pantry shortcuts and substitutions
- Use good quality chocolate chips instead of chopped bars if you want a shortcut; melt them gently to avoid scorching.
- Swap half the butter with neutral oil if you run low on butter; the texture stays fudgy, just a bit softer.
- Use gluten-free all-purpose blend at a 1:1 ratio for a gluten-free version; pick a blend with xanthan gum.
- Replace vanilla with instant espresso powder (1 tsp) for mocha brownies that still ship beautifully.
Tips & Tricks
- Line the pan with parchment and leave overhang on two sides so you lift the whole slab out easily.
- Melt butter and chocolate slowly over low heat so the chocolate stays smooth and glossy.
- Let the melted chocolate mixture cool slightly before you add eggs so you avoid scrambled bits.
- Whisk the eggs and sugar until thick and slightly pale to build that shiny, crackly top.
- Fold flour and cocoa gently with a spatula so you keep the texture fudgy, not tough.
- Stop baking when the center looks just set and a toothpick comes out with a few moist crumbs.
- Cool the brownies completely before slicing so you get clean edges that pack neatly.
- Chill the slab in the fridge for 30 minutes before cutting if you want ultra tidy squares.
- Slice brownies to fit snugly into mailing boxes or letterbox tins so they do not slide around.
- Wrap each brownie in parchment or wax paper, then pack them in a snug container for shipping.
How to Make Delicious Letterbox Brownies Recipe
Step 1: Melt chocolate and butter
Place the butter and chopped dark chocolate in a medium saucepan. Set the pan over low heat and stir often until everything melts and looks smooth and glossy. Remove from heat and let the mixture cool for about 5 to 7 minutes so it feels warm, not hot.
Step 2: Mix sugars and eggs
In a large mixing bowl, whisk granulated sugar and brown sugar until no lumps remain. Add the eggs one at a time, whisking well after each addition so the mixture thickens slightly. Whisk in the vanilla extract until the mixture looks glossy and cohesive.
Step 3: Combine chocolate with egg mixture
Pour the slightly cooled chocolate-butter mixture into the egg-sugar mixture in a slow, steady stream. Whisk constantly as you pour so the eggs stay smooth. Keep whisking until the batter looks uniform and shiny.
Step 4: Add dry ingredients
In a separate bowl, whisk together flour, cocoa powder, and fine sea salt. Sift the mixture if you see any cocoa clumps. Add the dry ingredients to the wet mixture and fold gently with a rubber spatula until just combined and no dry streaks remain.
Step 5: Fold in mix-ins
Add chocolate chips, nuts, or other mix-ins if you use them. Fold them into the batter with a few gentle strokes so you do not overmix. Scrape the batter into the parchment-lined pan and smooth the top with the spatula.
Step 6: Bake
Preheat your oven to 350°F (175°C) while you mix the batter if you have not already. Place the pan on the middle rack and bake for 22 to 28 minutes, depending on your oven and pan. Check at 22 minutes; the edges should look set and the center should no longer jiggle, with a toothpick showing moist crumbs, not wet batter.
Step 7: Finish and cool
Remove the pan from the oven and sprinkle flaky sea salt on top if you like that sweet-salty contrast. Let the brownies cool in the pan on a wire rack for at least 30 to 45 minutes. Lift the slab out using the parchment overhang, then cool completely before slicing into letterbox-friendly rectangles.
Step 8: Slice and pack for mailing
Use a long, sharp knife and wipe the blade between cuts for clean edges. Cut the brownies into pieces that fit your mailing box or letterbox tin, usually slim rectangles rather than big squares. Wrap each piece in parchment or wax paper, pack them snugly in a container, then place the container in a mailing box with a bit of padding so they arrive in great shape.
What to Serve with Delicious Letterbox Brownies Recipe
Serve this Delicious Letterbox Brownies Recipe slightly warm with a scoop of vanilla ice cream or a spoonful of whipped cream. Pair a piece with a big mug of hot chocolate, chai, or coffee for a cozy afternoon treat. Kids love these brownies with cold milk, and adults appreciate them as a sweet finish after a simple pasta or salad dinner. Cut them into bite-size squares for parties or lunchboxes so everyone can grab a piece without committing to a huge slice.
Storage Options
- Store brownies in an airtight container at room temperature for 3 to 4 days; keep them in a cool spot away from direct sun.
- Keep them in the fridge for up to 1 week if your kitchen runs warm; let them sit at room temp for 15 minutes before serving.
- Freeze individual wrapped pieces in a freezer bag or airtight box for up to 2 months.
- Thaw frozen brownies at room temperature for 1 to 2 hours, or warm them in a low oven at 300°F (150°C) for 5 to 8 minutes until soft and fragrant.
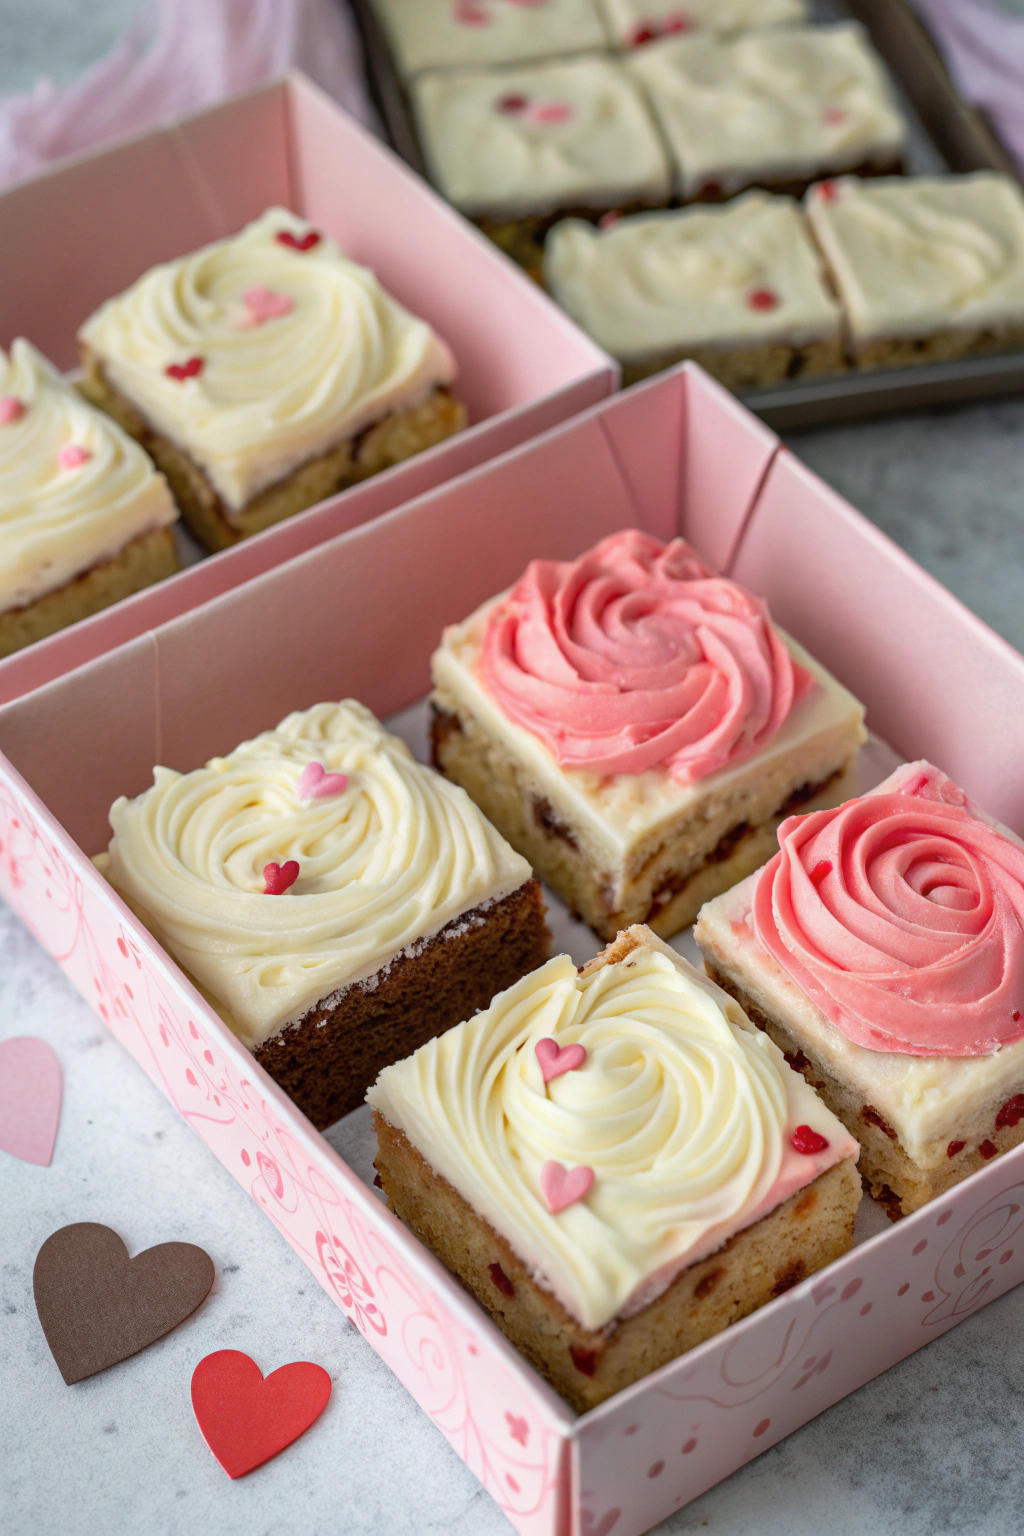
Delicious Letterbox Brownies Recipe
Ingredients
Instructions
- Preheat the oven to 180°C (350°F). Line a shallow rectangular tin (about 20 x 30 cm / 8 x 12 in) with baking parchment, leaving some overhang for easy lifting.
- Place the chopped dark chocolate and butter in a heatproof bowl set over a pan of gently simmering water, making sure the bowl does not touch the water. Stir occasionally until melted and smooth, then remove from the heat and let cool slightly.
- Whisk the caster sugar, brown sugar, and eggs together in a large bowl until thickened and slightly pale. Beat in the vanilla extract.
- Slowly pour the melted chocolate and butter mixture into the egg mixture, whisking continuously until fully combined and glossy.
- In a separate bowl, whisk together the plain flour, cocoa powder, and salt. Gently fold the dry ingredients into the wet mixture until just combined. Do not overmix. Fold in the chocolate chips or chunks if using.
- Pour the batter into the prepared tin and spread it evenly into the corners with a spatula.
- Bake for 20–25 minutes, or until the top is set and shiny, and a skewer inserted into the centre comes out with a few moist crumbs but no wet batter.
- Allow the brownies to cool completely in the tin, then use the parchment to lift them out. Slice into slim bars or squares suitable for fitting into a letterbox-sized box for gifting or posting.
- Store in an airtight container at room temperature for up to 4 days, or refrigerate for a firmer, fudgier texture.
Notes
Approximate per serving (1 of 12 brownies): 310 calories; fat 17 g; saturated fat 10 g; carbohydrates 36 g; fiber 3 g; sugars 26 g; protein 4 g; sodium 120 mg. Values will vary based on specific ingredients, brands, and portion size.
Leave a Reply