
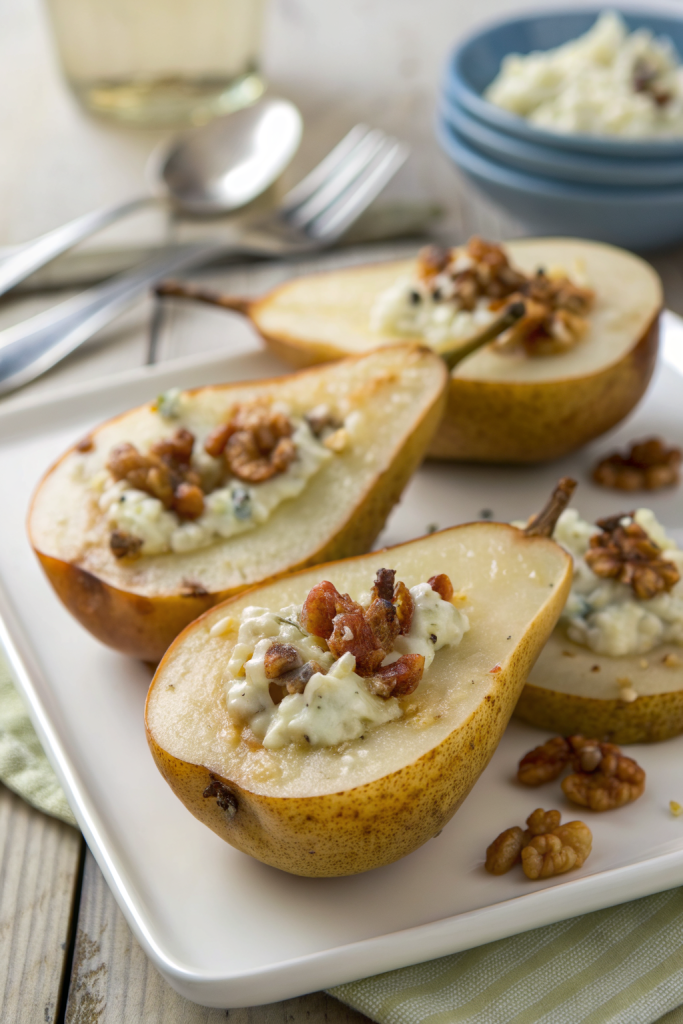
Elegant Blue Cheese Stuffed Pears Recipe tastes creamy, salty, sweet, and just a little fancy, like a cheese board dressed up for a party. It works perfectly for anyone who wants a quick but impressive appetizer or dessert, and it takes about 25 minutes from start to finish. I first served these on a Tuesday in sweatpants, so you can absolutely enjoy them without a tuxedo present.
Why You Should Try This Elegant Blue Cheese Stuffed Pears Recipe
This Elegant Blue Cheese Stuffed Pears Recipe gives you that sweet-salty contrast that people chase in high-end restaurants. Juicy pears, sharp blue cheese, crunchy nuts, and a touch of honey or maple syrup hit every part of your taste buds.
You can serve this recipe as a starter, a light dessert, or a snack that feels special without much effort. It works beautifully for holidays, date nights at home, or any time you want something that looks fancy but stays simple.
“These Elegant Blue Cheese Stuffed Pears taste like a cheese board in bite-size form, and they disappear in minutes at every gathering. ★★★★★”
Ingredients You’ll Need
Pears
- 3 ripe but firm pears
- Bosc or Anjou pears hold their shape best.
- Avoid very soft pears since they turn mushy in the oven.
Cheese mixture
-
4 ounces blue cheese, crumbled
- Use a creamy style like Gorgonzola or Danish blue for a smoother filling.
- If you prefer a milder flavor, mix half blue cheese with half cream cheese.
-
2 tablespoons cream cheese, softened
- This helps the filling stay creamy and spreadable.
- Use full-fat for best texture, but light cream cheese still works.
-
1 to 2 teaspoons honey or pure maple syrup
- Adjust to taste depending on how salty your blue cheese tastes.
- Use a mild honey so it does not overpower the cheese.
-
1 tablespoon plain Greek yogurt or sour cream
- This loosens the mixture and adds tang.
Crunchy topping
-
3 tablespoons chopped walnuts or pecans
- Toast them in a dry skillet for 3 to 4 minutes for deeper flavor.
- Use pumpkin seeds or sunflower seeds if you need a nut-free option.
-
1 tablespoon panko breadcrumbs (optional but tasty)
- This adds a light crunch on top.
- Use gluten free crumbs if needed.
-
1 teaspoon olive oil
- Helps the topping crisp in the oven.
Finishing touches
- Extra honey or maple syrup for drizzling
- Fresh thyme leaves or finely chopped rosemary
- Freshly cracked black pepper
- A pinch of flaky sea salt, if your blue cheese tastes mild
Pantry shortcuts and notes
- Use pre-crumbled blue cheese if you want to save time, though block cheese usually tastes richer.
- Use bottled honey or maple syrup from your pantry instead of any fancy flavored version.
- Use bagged chopped nuts to skip the knife work.
Equipment list
- Sharp knife
- Small spoon or melon baller
- Small mixing bowl
- Fork for mashing the cheese
- Baking sheet
- Parchment paper or a silicone baking mat
- Small skillet for toasting nuts (optional)
Tips & Tricks
- Choose pears that feel firm with just a little give near the stem so they hold shape while baking.
- Slice a tiny bit off the bottom of each pear half so they sit flat on the baking sheet.
- Use a melon baller or teaspoon to scoop a neat cavity for the filling.
- Taste your blue cheese mixture before stuffing and adjust honey or maple syrup to balance the saltiness.
- Toast the nuts for extra flavor and crunch, since raw nuts taste flat in comparison.
- Do not overbake the pears or they turn too soft; pull them when they feel just tender with a little bite.
- Serve the pears slightly warm or at room temperature for the best flavor and texture.
- Add herbs lightly; a few thyme leaves or a tiny pinch of rosemary goes a long way.
- Prep the pears and filling ahead, then stuff and bake right before serving.
- Use a small spoon to press the filling firmly into the cavity so it does not slide off while baking.
How to Make Elegant Blue Cheese Stuffed Pears Recipe
Step 1: Prep the pears
Preheat your oven to 375°F and line a baking sheet with parchment paper. Rinse and dry the pears, then slice them in half lengthwise. Use a small spoon or melon baller to scoop out the core and seeds, creating a small well in each half.
Trim a thin slice off the rounded back of each pear half so they sit flat. Arrange the pears cut side up on the prepared baking sheet. Lightly brush or rub the cut sides with a tiny bit of olive oil or neutral oil if you want extra shine.
Step 2: Mix the blue cheese filling
Add the blue cheese, cream cheese, honey or maple syrup, and Greek yogurt or sour cream to a small bowl. Mash everything together with a fork until the mixture looks creamy with some small blue cheese bits. Taste and adjust with a little more honey or maple syrup if the mixture tastes too sharp.
If the filling seems too thick, stir in a tiny splash of milk or cream until it looks spreadable. If it seems too loose, add a bit more crumbled blue cheese. You want a thick, scoopable texture that holds shape on a spoon.
Step 3: Stuff the pears
Spoon the blue cheese mixture into each pear cavity, dividing it evenly. Press the filling gently so it settles into the well and mounds slightly on top. Do not spread it all over the pear; keep it mostly in the center so it looks neat.
If you have extra filling, add a little more to each pear or save it as a spread for crackers. Grind a little black pepper over the filled pears for extra flavor. Set the tray aside while you prepare the crunchy topping.
Step 4: Mix the crunchy topping
In a small bowl, combine the chopped nuts, panko breadcrumbs, and olive oil. Stir until the crumbs and nuts look lightly coated. Sprinkle this mixture over the top of the filled pears, pressing gently so it sticks to the cheese.
If you skip the panko, just use nuts and olive oil. Add a tiny pinch of flaky salt to the topping if your blue cheese tastes mild. Keep the topping layer light so it crisps instead of turning heavy.
Step 5: Bake the pears
Slide the baking sheet into the oven and bake for 10 to 15 minutes. Check at the 10 minute mark; the pears should feel just tender when you poke them with the tip of a knife. The cheese should look soft and slightly melty, and the nuts should look toasted.
If your pears started very firm, you may need a couple more minutes. Pull them as soon as they reach that tender-but-not-mushy stage. Let them rest on the sheet for 5 minutes so the cheese sets slightly.
Step 6: Finish and serve
Transfer the warm pears to a serving platter. Drizzle lightly with honey or maple syrup, then scatter fresh thyme leaves or a tiny pinch of chopped rosemary over the top. Add a little more black pepper if you like that contrast with the sweetness.
Serve the Elegant Blue Cheese Stuffed Pears slightly warm or at room temperature. You can garnish the platter with extra nuts or a few fresh pear slices for color. Watch them disappear faster than you expect.
What to Serve with Elegant Blue Cheese Stuffed Pears Recipe
Serve this Elegant Blue Cheese Stuffed Pears Recipe with a simple green salad, such as arugula or mixed greens with a light vinaigrette. Crisp apple slices, whole grain crackers, or toasted baguette rounds pair nicely and stretch the appetizer for more people. Offer sparkling water with citrus slices, iced herbal tea, or a fruity mocktail to keep the flavors bright. You can also add a small plate of fresh berries to balance the richness of the cheese.
Storage Options
- Store leftover stuffed pears in an airtight container in the fridge for up to 2 days.
- Let them cool completely before you cover them so condensation does not make them soggy.
- Reheat gently in a 325°F oven for 8 to 10 minutes until warm and the cheese softens again.
- Avoid freezing these pears, since the texture of both the fruit and the cheese turns grainy after thawing.
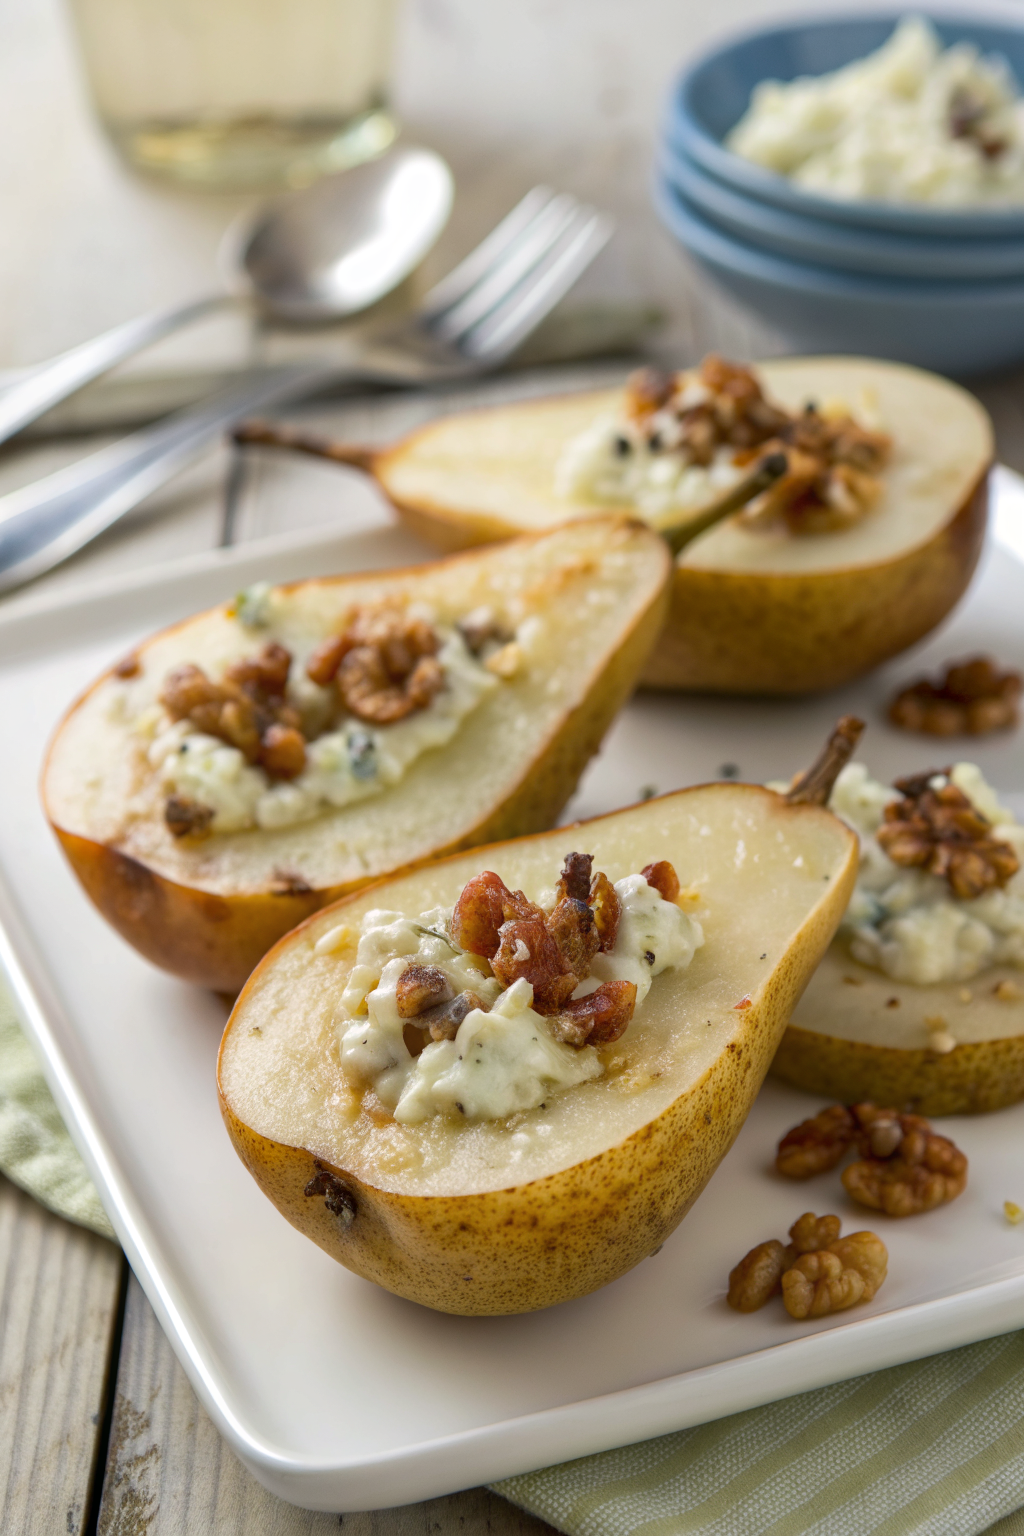
Elegant Blue Cheese Stuffed Pears Recipe
Ingredients
Instructions
- Preheat the oven to 375°F (190°C) and line a baking sheet with parchment paper. Rinse and dry the pears, then slice them in half lengthwise.
- Use a small spoon or melon baller to scoop out the core and seeds, creating a small well in each half.
- Trim a thin slice off the rounded back of each pear half so they sit flat on the baking sheet. Arrange the pears cut side up on the prepared sheet and lightly brush the cut sides with a little oil if desired.
- In a small bowl, combine the crumbled blue cheese, cream cheese, honey or maple syrup, and Greek yogurt or sour cream.
- Mash with a fork until the mixture looks creamy but still has some small blue cheese bits. Taste and add more honey or maple syrup if needed to balance the saltiness.
- If the filling is too thick, stir in a tiny splash of milk or cream until spreadable. If it is too loose, add a bit more blue cheese. Season lightly with black pepper.
- Spoon the blue cheese mixture into the cavity of each pear half, dividing it evenly. Press gently so it settles into the well and mounds slightly on top without spreading all over the pear.
- Grind a little more black pepper over the filled pears if you like.
- In a small bowl, stir together the chopped nuts, panko breadcrumbs, and olive oil until lightly coated. Add a small pinch of flaky salt if your blue cheese is mild.
- Sprinkle the mixture over the filled pears, pressing gently so it adheres to the cheese without forming a heavy layer.
- Bake for 10 to 15 minutes, checking at 10 minutes. The pears should feel just tender when pierced with the tip of a knife, the cheese should be soft and slightly melty, and the nuts lightly toasted.
- Remove from the oven and let the pears rest on the baking sheet for about 5 minutes so the cheese sets slightly.
- Transfer the warm pears to a serving platter. Drizzle lightly with honey or maple syrup and scatter fresh thyme leaves or a tiny pinch of chopped rosemary over the top.
- Add a final grind of black pepper if desired. Serve slightly warm or at room temperature.
Notes
Approximate per serving (1/2 pear, 1 of 6 servings): 170 calories; fat 11 g; saturated fat 5 g; carbohydrates 15 g; fiber 3 g; sugars 10 g; protein 5 g; sodium 260 mg. Values are estimates and will vary based on specific ingredients, brands, and portion sizes.