
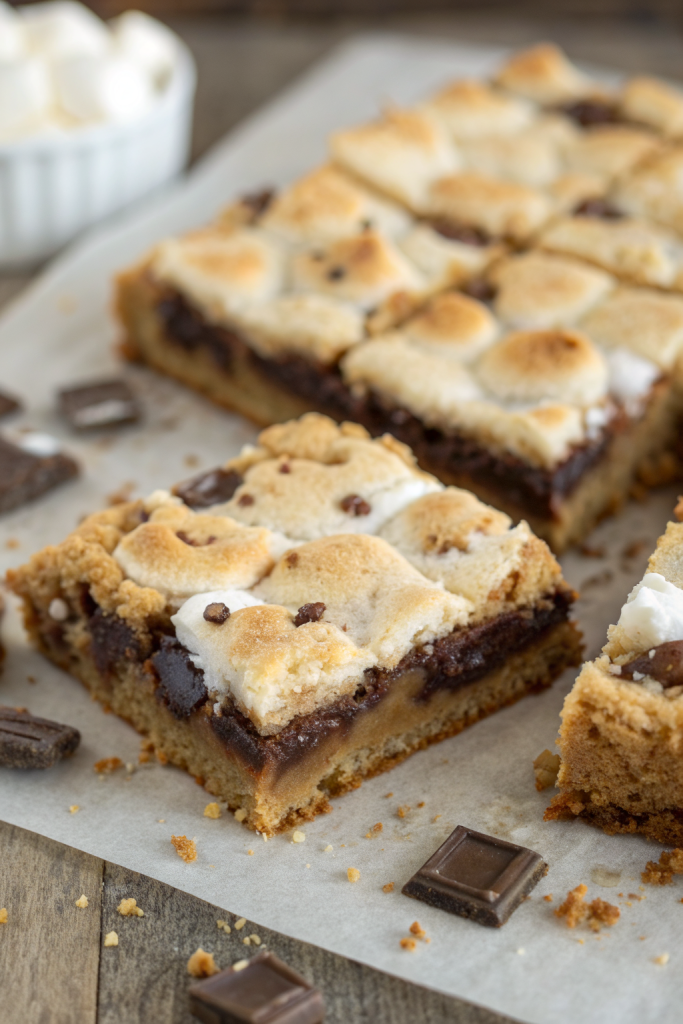
Layered S’mores Bars Recipe tastes like a gooey campfire treat collided with a buttery cookie bar in the best way possible, and it works perfectly for busy families or party people who want a big-batch dessert in about 45–55 minutes. This recipe suits anyone who loves classic s’mores but hates chasing marshmallows around a fire pit. I first made these on a rainy camping trip in my tiny RV oven, and my kids still talk about that pan like it belonged in a museum.
Why You Should Try This Layered S’mores Bars Recipe
These Layered S’mores Bars pack all the flavors of graham crackers, chocolate, and toasted marshmallows into one easy pan dessert. You skip the sticky fingers and smoke in your eyes, yet you still get that caramelized marshmallow pull and melty chocolate bite.
The recipe scales easily, travels well, and slices cleanly once it cools. You can bake it for potlucks, school events, or weeknight treats, and everyone thinks you spent way more time on it than you actually did.
“These Layered S’mores Bars taste like a campfire dessert in a bakery-style bar, and my family demolished the whole pan in one night ★★★★★”
Ingredients You’ll Need
Graham cracker cookie base
- 1 1/2 cups graham cracker crumbs
- Use boxed crumbs for speed, or crush about 12 full sheets of graham crackers in a zip-top bag.
- 1 cup all-purpose flour
- Use regular unbleached flour; avoid cake or bread flour for best texture.
- 1/2 teaspoon baking powder
- 1/2 teaspoon fine sea salt
- 1/2 cup unsalted butter, melted and slightly cooled
- I like Kerry Gold or similar high-fat butter for richer flavor.
- 3/4 cup packed light brown sugar
- 1/4 cup granulated sugar
- 1 large egg, room temperature
- 2 teaspoons pure vanilla extract
Chocolate layer
- 2 cups semi-sweet chocolate chips
- Use a good brand like Ghirardelli or Guittard for smoother melting.
- Swap half for milk chocolate chips if you want a more classic s’mores flavor.
- Optional: 1 tablespoon heavy cream
- This softens the chocolate layer slightly and helps with slicing.
Marshmallow layer
- 3 cups mini marshmallows
- Mini marshmallows melt and brown more evenly than large ones.
- Use vegan marshmallows if you need a gelatin-free option.
Optional add-ins and variations
- 1/2 cup crushed pretzels for a salty crunch
- 1/2 cup chopped peanuts or pecans
- 1/2 cup peanut butter chips or white chocolate chips
- 1–2 full graham cracker sheets, broken into chunks for the top
Pantry shortcuts
- Use pre-crushed graham cracker crumbs to save time and dishes.
- Use chocolate chips instead of chopping chocolate bars.
- Use nonstick cooking spray plus parchment paper to line the pan so you skip scrubbing.
Equipment list
- 8×8 inch baking pan (metal pan browns the edges better than glass)
- Parchment paper
- Mixing bowls (one large, one medium)
- Whisk and rubber spatula
- Measuring cups and spoons
- Small offset spatula or spoon for spreading layers
- Knife for slicing cooled bars
Tips & Tricks
- Line the pan with parchment and leave an overhang so you lift the bars out easily.
- Press the graham base firmly into the pan with the bottom of a measuring cup so it bakes evenly.
- Use room temperature egg so it mixes smoothly into the sugar and butter.
- Melt the butter and let it cool slightly so it does not scramble the egg.
- Sprinkle a tiny pinch of salt over the chocolate layer to balance the sweetness.
- Add the marshmallows near the end of baking so they toast instead of burning.
- Let the bars cool completely before slicing so the layers set and cut cleanly.
- Wipe the knife with a warm, damp cloth between cuts for neat edges.
- Chill the pan for 20–30 minutes if the chocolate still feels too soft to slice.
- Use the broiler briefly to toast the marshmallows if your oven does not brown them enough, and watch closely.
How to Make Layered S’mores Bars
Step 1: Prep the pan and oven
Preheat your oven to 350°F (175°C).
Line an 8×8 inch pan with parchment paper, leaving some overhang on two sides like handles.
Lightly grease the parchment with cooking spray or a thin layer of butter.
Step 2: Mix the dry ingredients
In a large bowl, whisk together graham cracker crumbs, flour, baking powder, and salt.
Break up any clumps so the mixture looks even and sandy.
Set the bowl aside while you mix the wet ingredients.
Step 3: Mix the wet ingredients
In a separate bowl, whisk melted butter, brown sugar, and granulated sugar until the mixture looks thick and glossy.
Add the egg and vanilla extract, then whisk until the mixture looks smooth and slightly lighter in color.
Scrape the sides of the bowl so everything blends evenly.
Step 4: Combine to make the graham cookie base
Pour the wet mixture into the dry ingredients.
Use a rubber spatula to fold everything together until no dry streaks of flour remain.
The dough should feel thick and sticky, similar to cookie dough.
Step 5: Press the base into the pan
Scoop the dough into the prepared pan.
Use your fingers or the bottom of a measuring cup to press it into an even layer that reaches all corners.
Smooth the top so it bakes uniformly and does not puff unevenly.
Step 6: Par-bake the base
Place the pan in the oven and bake for 10–12 minutes.
You want the edges to look slightly set and the top to lose its raw shine, but not fully brown.
This step keeps the base from turning soggy under the chocolate and marshmallows.
Step 7: Add the chocolate layer
Remove the pan from the oven and place it on a heat-safe surface.
Sprinkle the chocolate chips evenly over the hot graham base.
Let the chips sit for 2–3 minutes so they soften, then gently spread them into an even layer with a small offset spatula or spoon.
If you use heavy cream, drizzle it over the softened chips before you spread them.
Step 8: Add the marshmallow layer
Sprinkle the mini marshmallows evenly over the melted chocolate.
Cover the chocolate completely, but avoid piling the marshmallows too thick in one spot.
If you want extra crunch, scatter a few graham chunks or pretzel pieces over the marshmallows.
Step 9: Bake until golden and gooey
Return the pan to the oven and bake for another 10–13 minutes.
Watch the marshmallows and pull the pan when they puff and turn golden brown on top.
If the marshmallows brown too quickly, tent a piece of foil loosely over the pan and finish baking.
Step 10: Optional broil for extra toastiness
If you want deeper color on the marshmallows, switch the oven to broil on high.
Slide the pan under the broiler for 30–60 seconds and watch like a hawk.
Pull the pan the moment the marshmallows reach your favorite toasted level.
Step 11: Cool and Slice
Place the pan on a cooling rack and let the bars cool at room temperature for at least 1–2 hours.
Lift the slab out by the parchment overhang and set it on a cutting board.
Use a sharp knife to cut into 9 large bars or 16 smaller squares, wiping the blade between cuts.
Step 12: Finish
Serve the Layered S’mores Bars slightly warm for maximum gooey factor.
If they cooled completely, you can warm individual squares in the microwave for 10–15 seconds.
Share them with friends or hoard them in the back of the fridge behind the vegetables; I do not judge.
What to Serve with Layered S’mores Bars
Layered S’mores Bars taste rich and sweet, so pair them with something cool and simple. A cold glass of milk, chocolate milk, or almond milk balances the toasted marshmallow and chocolate layers. You can also serve them with vanilla ice cream, a drizzle of chocolate syrup, and a few extra graham crumbs on top. Hot cocoa, chai, or a simple cup of coffee also match the cozy campfire vibe.
Storage Options
- Store cooled bars in an airtight container at room temperature for up to 2 days.
- Keep them in the fridge for 4–5 days if you want the chocolate layer a bit firmer.
- Freeze individual bars wrapped in plastic, then place them in a freezer bag for up to 2 months.
- Thaw frozen bars in the fridge overnight or at room temperature for 30–45 minutes.
- Reheat a bar in the microwave for 10–15 seconds to soften the chocolate and marshmallows again.
- Warm several bars in a 300°F (150°C) oven for 5–8 minutes if you want that freshly baked texture.
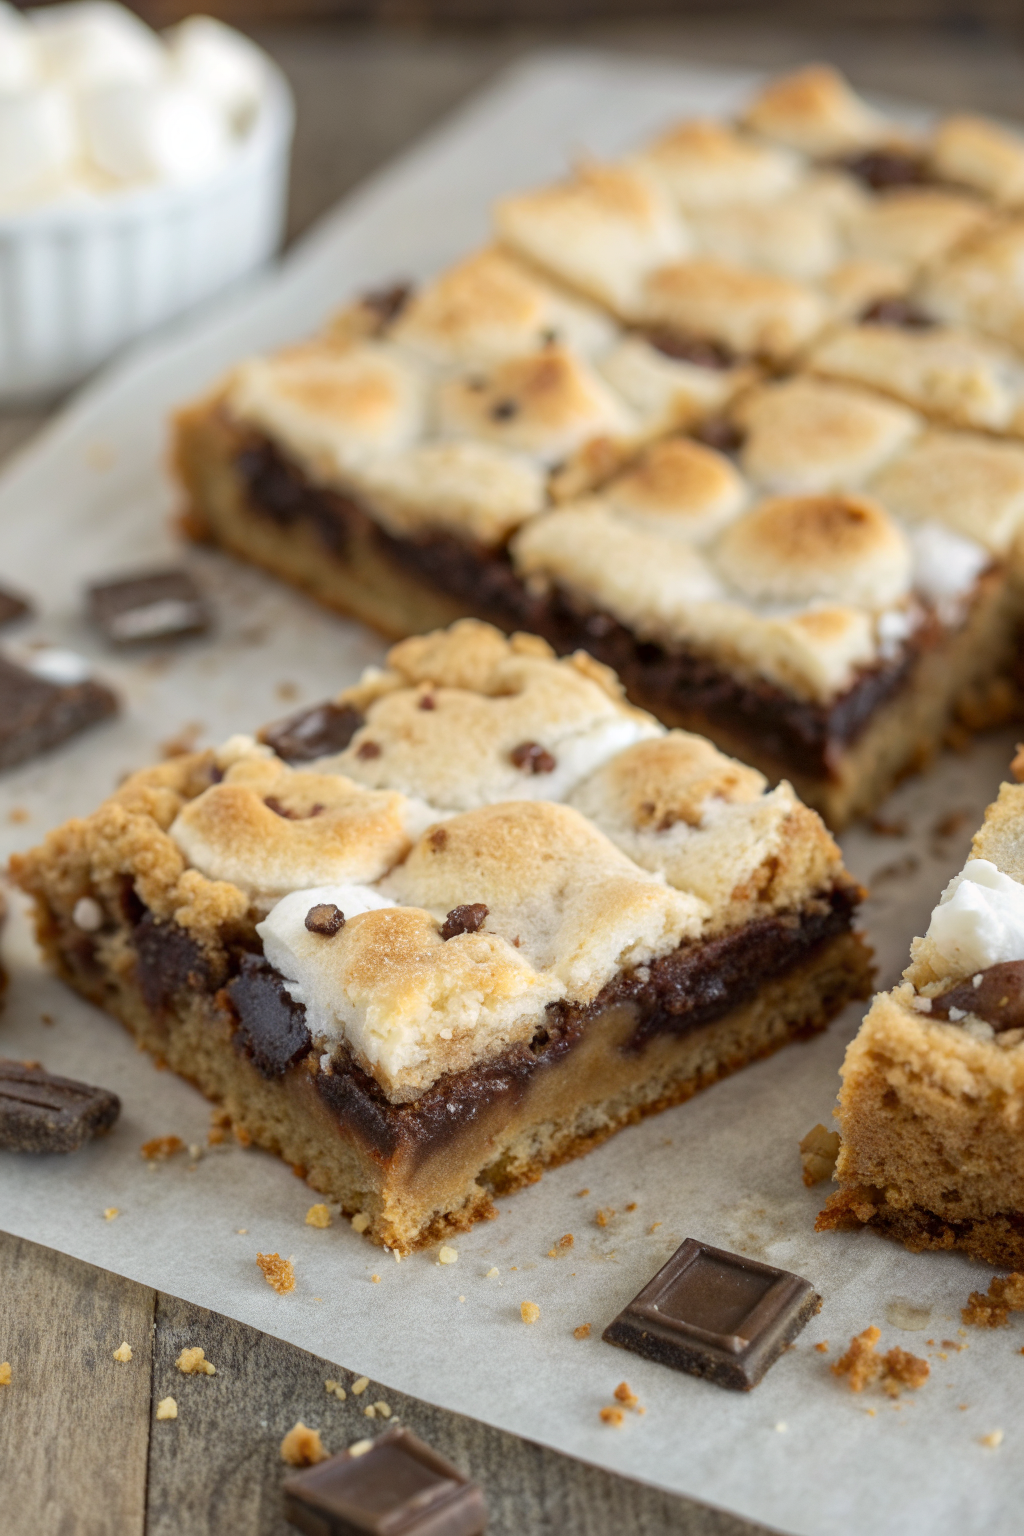
Layered S’mores Bars Recipe
Ingredients
Instructions
- Preheat the oven to 350°F (175°C). Line an 8x8-inch baking pan with parchment paper, leaving some overhang on two sides, and lightly grease the parchment.
- In a large bowl, whisk together the graham cracker crumbs, flour, baking powder, and salt until evenly combined and sandy.
- In a separate bowl, whisk the melted, slightly cooled butter with the brown sugar and granulated sugar until thick and glossy. Add the egg and vanilla and whisk until smooth and slightly lighter in color, scraping the bowl as needed.
- Pour the wet mixture into the dry ingredients. Fold together with a rubber spatula until no dry streaks of flour remain and a thick, sticky cookie dough forms.
- Scrape the dough into the prepared pan. Press it firmly into an even layer with your fingers or the bottom of a measuring cup, making sure it reaches all corners and the top is smooth.
- Bake the base for 10–12 minutes, until the edges look slightly set and the surface loses its raw shine but is not fully browned.
- Remove the pan from the oven. Immediately sprinkle the chocolate chips evenly over the hot graham base. Let sit for 2–3 minutes to soften, then gently spread into an even layer. If using heavy cream, drizzle it over the softened chips before spreading.
- Sprinkle the mini marshmallows evenly over the melted chocolate, covering it completely without piling them too thick in one spot. Add any optional graham chunks, pretzels, nuts, or chips on top if using.
- Return the pan to the oven and bake for 10–13 minutes, until the marshmallows are puffed and golden brown on top. If they brown too quickly, tent loosely with foil and finish baking.
- For extra toastiness, switch the oven to broil on high and broil for 30–60 seconds, watching closely, until the marshmallows reach your preferred level of toast. Remove immediately.
- Place the pan on a cooling rack and let the bars cool at room temperature for at least 1–2 hours, until the layers are set. Lift the slab out using the parchment overhang and transfer to a cutting board. Slice into 9 large bars or 16 smaller squares, wiping the knife with a warm, damp cloth between cuts for neat edges.
- Serve slightly warm for maximum gooey texture, or at room temperature. Rewarm individual bars in the microwave for 10–15 seconds if desired.
Notes
Approximate per 1 bar (16 bars total, without optional add-ins): 260 calories; fat 12 g; saturated fat 7 g; carbohydrates 37 g; fiber 1 g; sugars 27 g; protein 3 g; sodium 160 mg. Values are estimates and will vary based on brands, add-ins, and portion size. Storage: Store cooled bars in an airtight container at room temperature for up to 2 days, or in the refrigerator for 4–5 days. For longer storage, wrap individual bars and freeze for up to 2 months; thaw before reheating gently to restore a soft, gooey texture.