
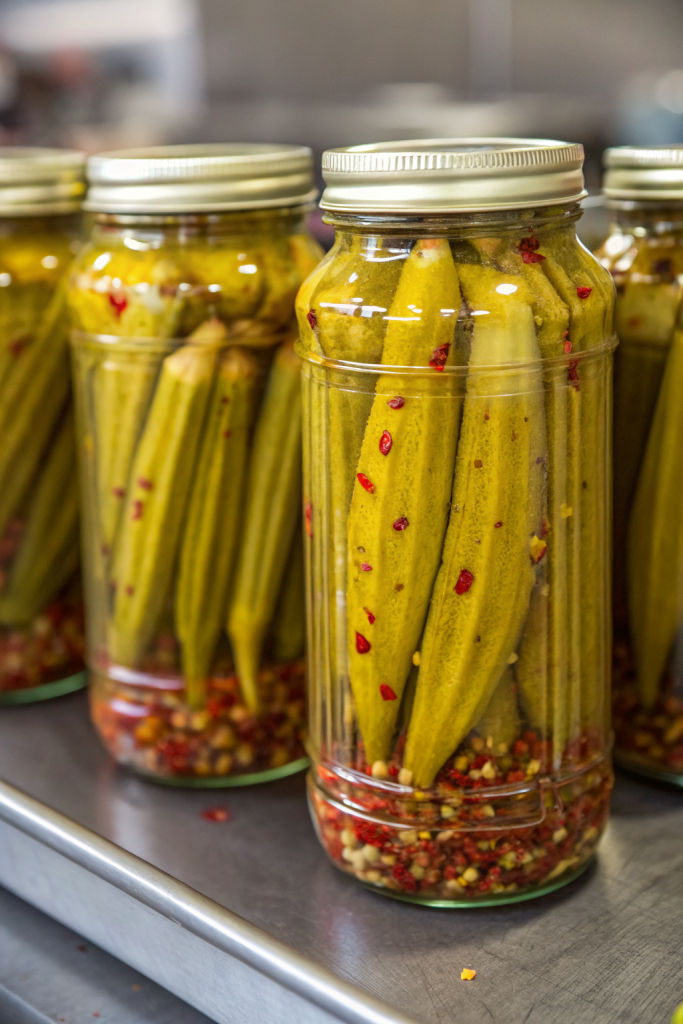
How to Pickle Okra tastes tangy, crunchy, a little spicy, and totally addictive, and it works for anyone who wants a quick homemade snack or easy side in under 30 minutes of hands-on time. You chill the jars while the brine does the work, so the total time mostly feels like waiting for a text back. I grew up in the South and still eat these straight from the jar over the sink like a gremlin, so you are in good company.
Why Make This Pickle Okra at Home
Homemade pickled okra stays crisp, bright, and full of flavor, without that slimy texture people worry about. You control the salt, the heat level, and the garlic situation, so your jar tastes exactly how you like it.
You also skip weird additives and use simple pantry ingredients. The process feels simple enough for beginners, yet the jars look fancy enough for gifting or showing off at a cookout.
Tastes crisp, tangy, and perfectly seasoned every time, and it beats any store-bought jar I have tried by a mile. ★★★★★
Ingredients You Need
Fresh produce
- Fresh okra pods, small to medium, firm and unblemished
- Small pods stay tender and crunchy. Avoid big, woody pods.
- Fresh garlic cloves
- Fresh dill sprigs or 1 teaspoon dried dill weed per pint jar
- Fresh hot peppers (optional): jalapeño, serrano, or red chile slices
Vinegar and liquid
- Distilled white vinegar
- Gives a clean, sharp flavor and clear brine.
- Apple cider vinegar (optional, up to half of the vinegar)
- Adds a slight sweetness and fruit note.
- Water, filtered if your tap water tastes strong
Salt and sweetener
- Pickling salt or kosher salt without additives
- Avoid iodized table salt, which can cloud the brine and taste harsh.
- Sugar, white or cane
- Balances the acidity and rounds out the flavor. You can reduce it, but keep at least a little for balance.
Spices
Use these per pint jar as a starting point and adjust to taste:
- 1 teaspoon mustard seeds
- 1 teaspoon black peppercorns
- 1 teaspoon coriander seeds (optional)
- 1 or 2 bay leaves, torn
- 1 or 2 cloves of garlic
- Pinch of red pepper flakes if you skip fresh chiles
You can use a premixed pickling spice if you want a shortcut. I like McCormick or Spice Islands pickling spice and add extra garlic and dill.
Basic brine ratio
For about 3 to 4 pint jars of okra:
- 2 cups distilled white vinegar
- 2 cups water
- 2 tablespoons pickling or kosher salt
- 2 to 4 tablespoons sugar, to taste
This 1:1 vinegar to water ratio keeps the brine nice and punchy and safe for refrigerator pickles.
Equipment
- 3 to 4 clean pint jars with lids and rings
- Wide mouth jars make packing okra much easier.
- Small pot for brine
- Small pan to warm lids (optional, but helps them seal well for the fridge)
- Tongs or jar lifter
- Funnel (wide mouth if you have it)
- Clean towel
- Cutting board and sharp knife
Tips & Mistakes
- Wash and dry okra completely so extra moisture does not water down the brine.
- Pick small, firm pods and skip any that feel soft, wrinkled, or very large and tough.
- Pack the okra snugly but gently so the pods stand upright and do not float too much.
- Trim only the stem tips and do not cut into the pod, or you will invite slime into the brine.
- Bring the brine to a full simmer so the salt and sugar dissolve completely.
- Pour hot brine over the okra, but leave a little headspace at the top of each jar.
- Taste the brine before you pour it and adjust salt, sugar, or heat so you love it.
- Do not skimp on vinegar; keep at least half the liquid as vinegar for safe pickling.
- Let the jars cool to room temperature before you chill them so the glass does not crack.
- Wait at least 24 hours before you eat them; the flavor deepens a lot after a couple of days.
- Label the jars with the date so you know how long they sit in the fridge.
- Keep everything clean to avoid off flavors or funky growth in the jars.
How to Pickle Okra
Prep the okra and jars
Wash the okra under cool water and pat it very dry with a clean towel. Trim just the stem tips so the caps stay intact and the seeds stay inside. Wash your jars and lids in hot soapy water, rinse well, and let them air dry on a clean towel.
Pack the jars
Place garlic, dill, spices, and any hot pepper slices in the bottom of each jar. Stand the okra pods upright in the jars, tips up, packing them tightly but without crushing them. Tuck a few pods horizontally on top if you want to fill gaps.
Mix and heat the brine
Add vinegar, water, salt, and sugar to a small pot. Bring the mixture to a simmer over medium heat and stir until the salt and sugar dissolve. Taste the brine and adjust sweetness or heat with more sugar or red pepper flakes if you want.
Add the brine to the jars
Place the jars on a towel to protect your counter from heat. Pour the hot brine over the okra, using a funnel if you have one, and leave about 1/2 inch of headspace at the top. Tap the jars gently or slide a clean butter knife down the sides to release any trapped air bubbles, then top off with more brine if needed.
Seal and cool
Wipe the rims of the jars with a clean damp cloth so no spice or brine sits on the edge. Place the lids on and screw the bands on until they feel fingertip tight, not cranked down super hard. Let the jars cool to room temperature on the counter.
Chill and wait
Move the cooled jars to the refrigerator. Let the okra sit at least 24 hours before you open a jar, though 2 to 3 days gives the best flavor and crunch. Eat within a couple of months for peak texture and taste.
Variations I’ve Tried
Spicy garlic okra
I pack extra garlic in each jar and add jalapeño slices plus red pepper flakes. This version hits with real heat and works great on tacos and nachos.
Smoky paprika okra
I add 1/2 teaspoon smoked paprika and a few extra black peppercorns to each jar. The brine picks up a subtle smoky flavor that pairs nicely with grilled chicken or burgers.
Lemon dill okra
I tuck a couple of thin lemon slices into each jar along with fresh dill. The lemon brightens the brine and gives the okra a fresh, almost herby citrus flavor.
Bread and butter style okra
I bump up the sugar to about 1/4 cup in the brine and add a few onion slices to each jar. This version tastes sweet and tangy, similar to bread and butter pickles, and kids usually love it.
How to Serve
Serve pickled okra straight from the jar as a crunchy snack or side with sandwiches, fried chicken, or barbecue. I like to slice it and toss it into salads, tuna salad, or egg salad for extra tang and texture. It also works well on snack boards with cheese, crackers, nuts, and fresh veggies. Chop it and stir it into coleslaw, potato salad, or a simple bowl of rice and beans for a quick flavor boost.
How to store
- Store the jars in the refrigerator once they cool to room temperature.
- Keep them chilled and eat within 2 to 3 months for the best flavor and crunch.
- Do not freeze pickled okra; freezing ruins the texture and turns the pods mushy.
- Serve the okra cold or at room temperature; no reheating needed and heat will soften the crunch.
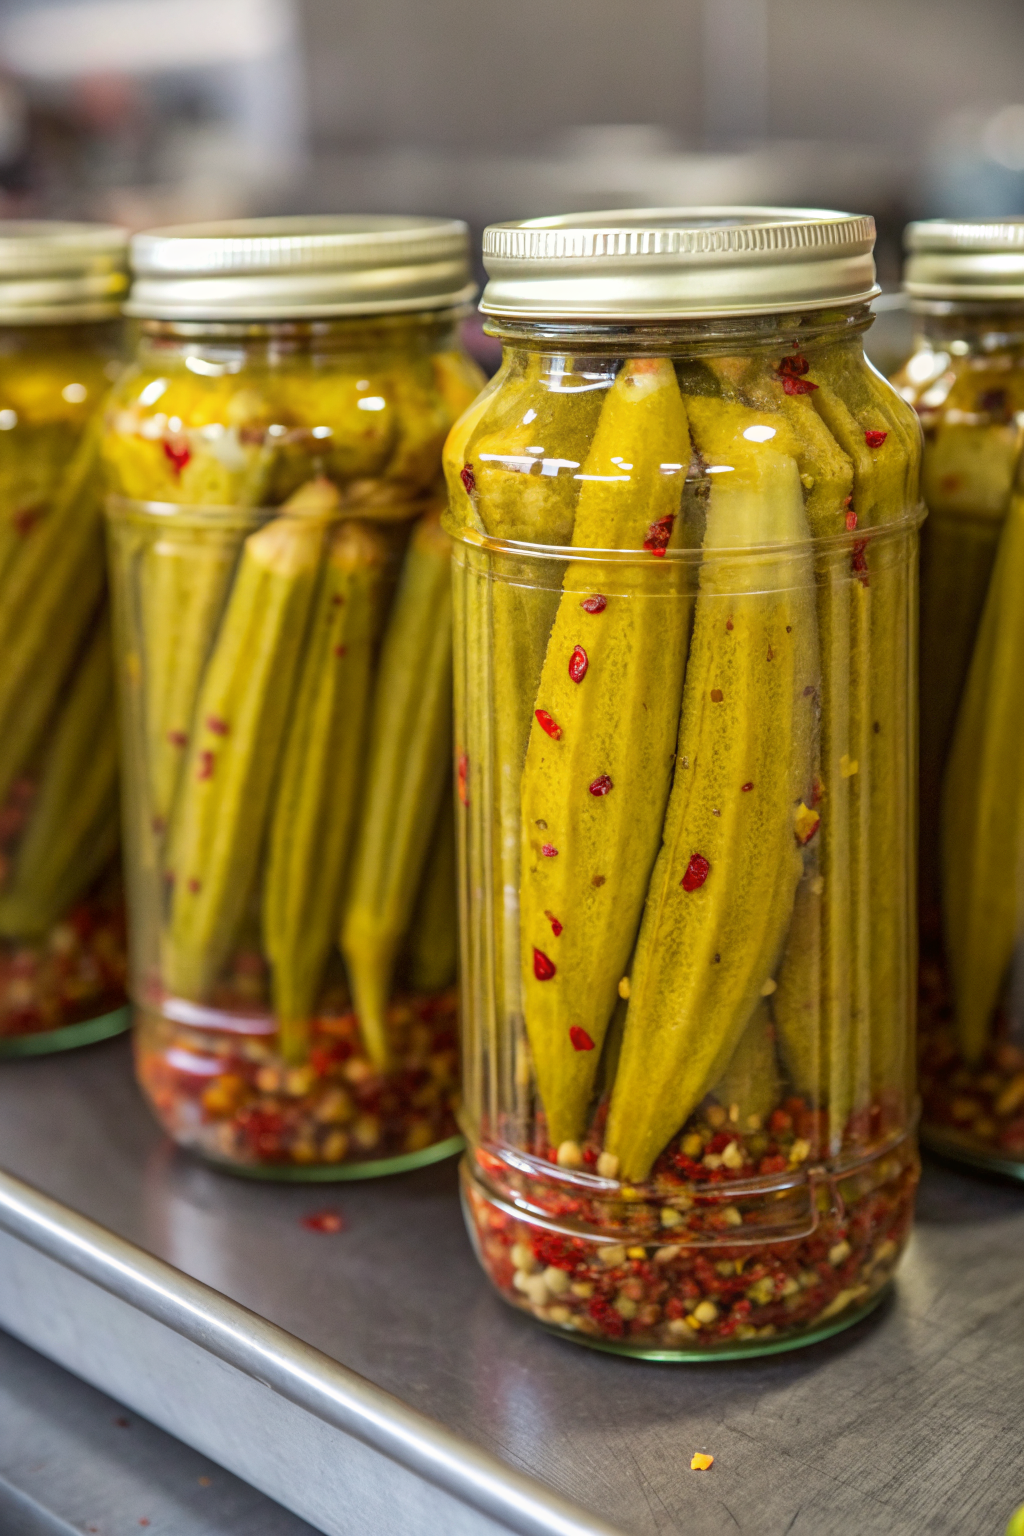
How to Pickle Okra
Ingredients
Instructions
- Wash the okra under cool water and pat it very dry with a clean towel so extra moisture does not water down the brine.
- Trim just the stem tips from the okra, keeping the caps and pods intact so the seeds stay inside and the texture stays crisp.
- Wash the pint jars, lids, and rings in hot soapy water, rinse well, and let them air dry on a clean towel.
- Place garlic cloves, dill, spices, and any hot pepper slices in the bottom of each clean jar.
- Stand the okra pods upright in the jars, tips up, packing them snugly but without crushing them.
- Tuck a few pods horizontally across the top if needed to fill gaps and keep the upright pods from floating.
- Combine the vinegar, water, salt, and sugar in a small pot, using up to half apple cider vinegar if you like a slightly sweeter, fruitier flavor.
- Bring the mixture to a simmer over medium heat, stirring until the salt and sugar dissolve completely.
- Taste the hot brine carefully and adjust the sweetness or heat with more sugar or a pinch of red pepper flakes so you love the flavor.
- Place the packed jars on a towel to protect your counter from the heat.
- Pour the hot brine over the okra in each jar, using a funnel if you have one, and leave about 1/2 inch of headspace at the top.
- Tap the jars gently on the counter or slide a clean butter knife down the sides of each jar to release any trapped air bubbles, then top off with more brine if needed to maintain the headspace.
- Wipe the rims of the jars with a clean damp cloth so no spices or brine sit on the edges.
- Place the lids on the jars and screw the bands on until they are fingertip tight, not overly tight.
- Let the jars cool to room temperature on the counter so the glass does not crack from a sudden temperature change.
- Move the cooled jars to the refrigerator and let them sit at least 24 hours before opening so the flavor can develop, with 2 to 3 days giving the best tang and crunch.
Notes
Approximate per 1/4-cup serving (about 1–2 pods): 20 calories; fat 0 g; saturated fat 0 g; carbohydrates 4 g; fiber 1 g; sugars 2 g; protein 1 g; sodium 260 mg. Values will vary based on exact brine strength, jar size, and how much brine you consume. Storage: Keep jars refrigerated after cooling. Enjoy within 2 to 3 months for the best flavor and crunch. Do not freeze, as freezing turns the okra mushy. Serve cold or at room temperature; do not reheat, since heat softens the texture.
Leave a Reply